We have a new family member this year, little Annabel (my niece) was born November first. Thus we need a stocking for her! Instead of going the easy route (and buying one), I decided to make her a stocking. I've never tried this before so I learned a lot along the way, but the end result is lovely.
WHAT YOU'LL NEED:
- 2 different types of fabric (about 2 ft. square)
- Batting (about 2 ft. square)
- White faux fur material ( about 2 ft. long, 4 in. length)
- Ribbon (4 in)
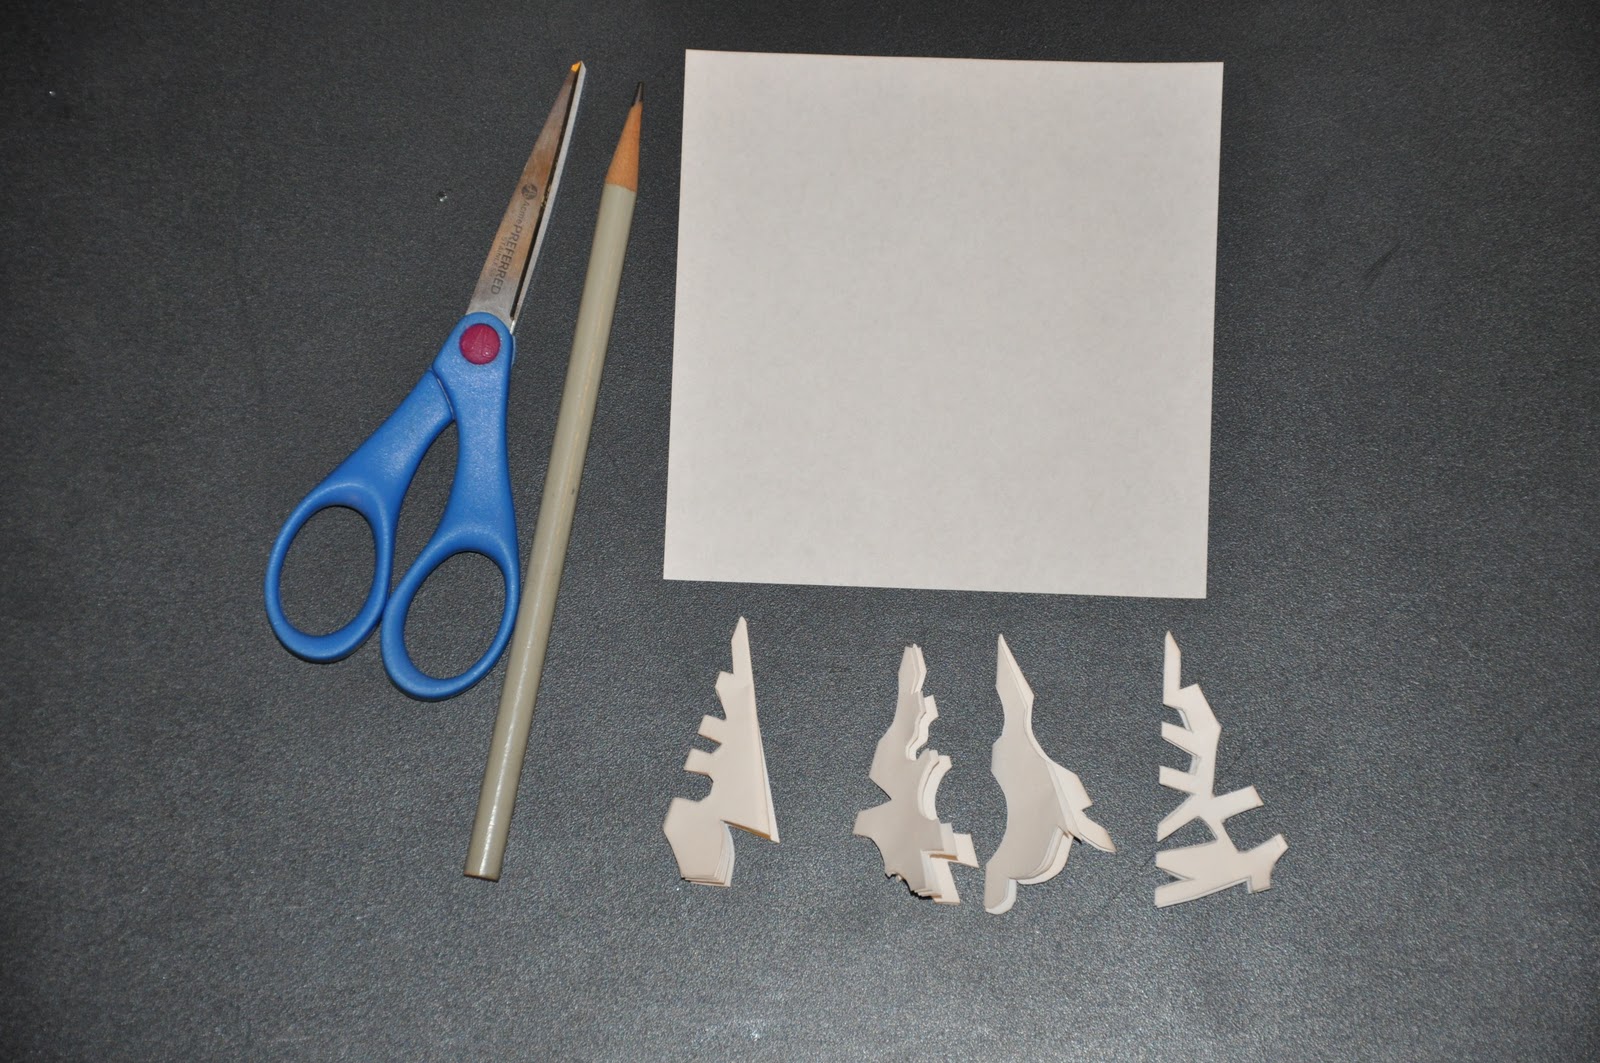
- Scissors
- Marker
- Needle & thread
- Straight pins
Directions:
Fold your fabric in half, and use an old stocking as a template. Place the heel of the stocking against the fold in the fabric, and begin tracing. After tracing the stocking cut out both pieces of fabric. Now flatten out one of the pieces you've just cut out and use it to trace out the batting. Once you've cut out the batting, you can cut the white fur for the top cuff, and the ribbon for hanging the stocking.
Now you'll want to layer all your pieces together. First you'll start with the fur trim, fur facing down, then the ribbon folded in half in the center. Then the fabric for the interior of the stocking with the front facing down. Then the batting, and then the outside fabric facing up. You'll want to pin the whole stocking together now. Make sure at this point that you've layered everything correctly, remembering that you will be turning it right side out after sewing.
Now you can start sewing, begin going across the top with the stocking open flat. Once you've finished the top you will fold the stocking in half and re-pin it together. Now sew the whole stocking together, making sure to go thru all the layers as you go. Once you are done turn it right side out.
Congratulations, you just made your first Christmas stocking!
Check back tomorrow, we'll be adding a little more glitz to this stocking. Until then, happy DIYing!