
Wax Paper Hearts
I got this idea from Martha Stewart.
WHAT YOU'LL NEED:
- Wax Paper
- Crayons (I used reds and pinks)
- Pencil sharpener
- Craft Paper (or large paper bag)
- Iron
- Pencil
- Scissors
- Heart Stencils in varying sizes

Directions:
Begin by either cutting a piece of kraft paper or a paper bag in the size surface area you would like to work with. Then pull out a long sheet of wax paper, and fold it in half over the kraft paper (so it fits on the surface).

Unfold the wax paper, and sharpen a couple shades of red crayons evenly over the paper. Try to stay away from the edges. This is my first try, and I used too many crayon shavings. I used four whole crayons.

Fold the wax paper over the shavings. Either fold the edges over, or scoot the shavings and inch from the edge before folding over. This way the hot wax doesn't leak out everywhere.

Now lay a piece of kraft paper over the whole thing, and use an iron on medium heat over the whole surface. When you begin moving the iron over the shavings it will be bumpy at first, and when you're done it will run smoothly over the paper. When you check the paper, if it looks like any bits are still unmelted though, pass the iron over that area again.

This is what one and a half crayons looks like, and this amount of shavings came out nicely.

 |
| Close-up |
This is how it will look after you are done ironing. I used an old paper bag, and the seams did leave a bit of a crease in the wax paper, so if that would bother you definitely use fresh kraft paper.

After, you've made about 4 or 5 sheets of melted crayon wax paper you are ready for the next part. You will need the pencil, heart template, and a pair of scissors. I found a great free printable heart template here. They print out at the perfect size.

Using the heart stencils trace several hearts on each sheet with a pencil. Trace more large hearts than small hearts.
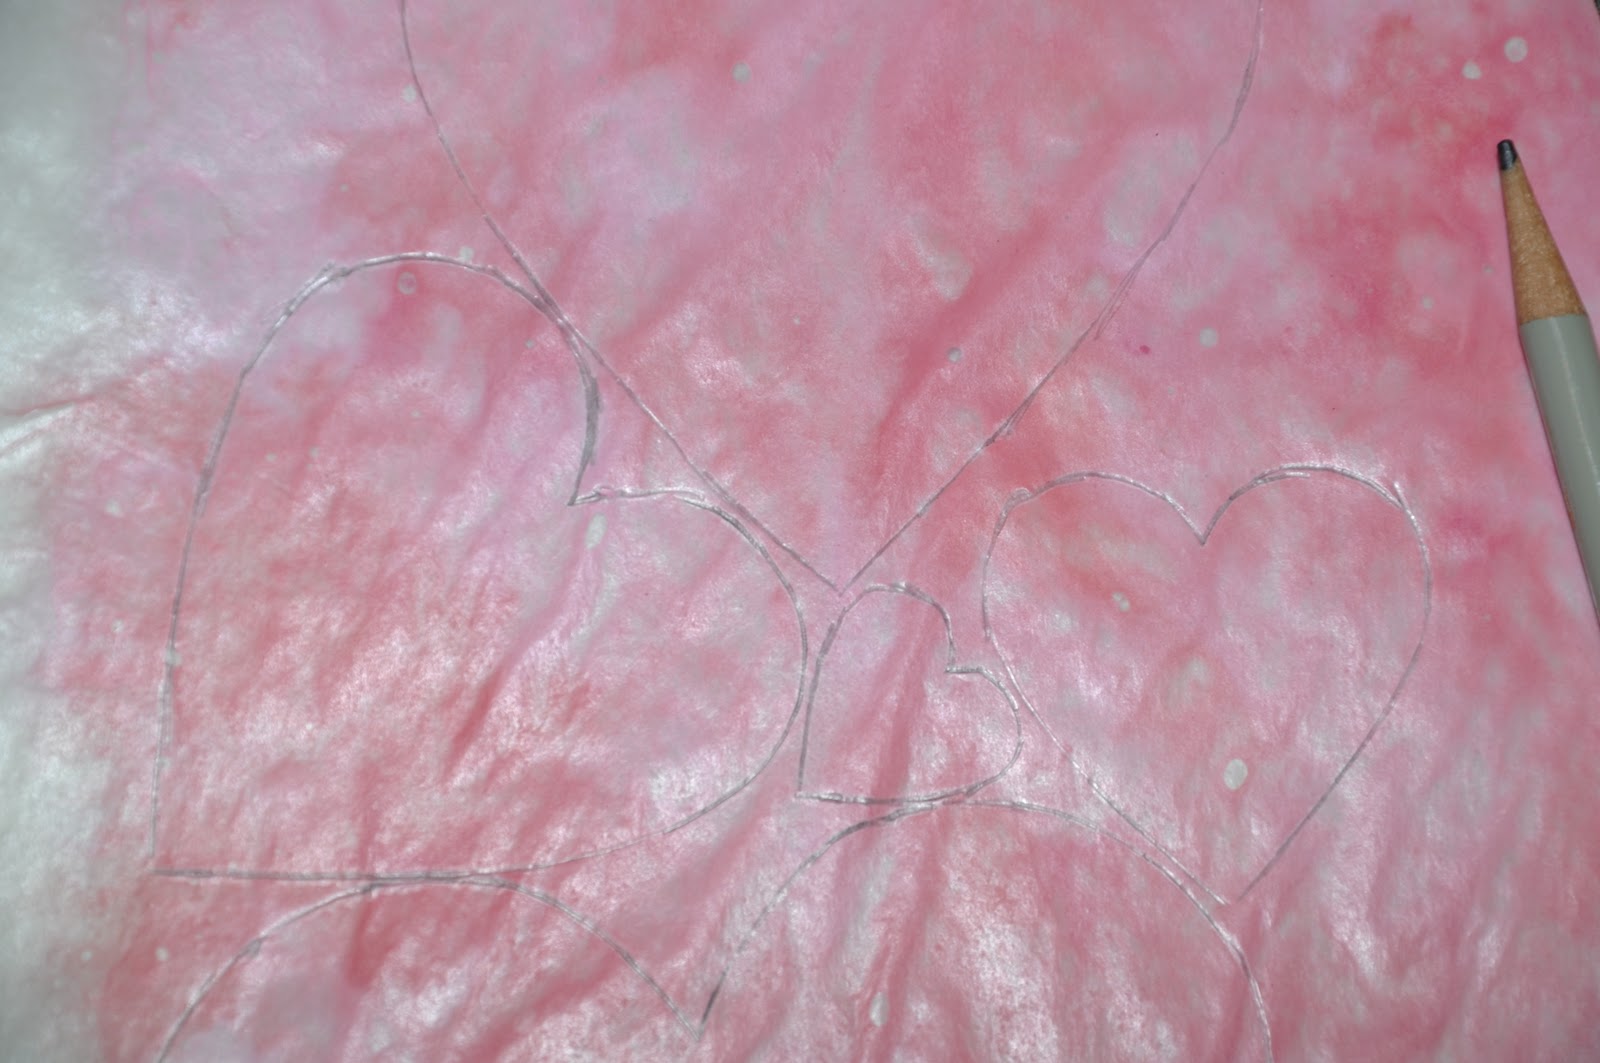
Then cut out the heart shapes. Be careful with the wax paper, because the melted wax can easily be creased.

The last step is rather time consuming, but it looks really good when it's done. Find a window or a large light fixture to hang your hearts near. I was able to string some yarn from the two hooks holding up my light on one side, and on the other from the light hook and a curtain rod. Use a small needle and sewing thread, and make a hole near the top center point, pull the thread through the hole. Tie a knot at the end, and hang it from the yarn or curtain rod (or however you desire to hang these little guys). Hang the hearts a different lengths, and mix the colors and sizes around.

Start now, you'll want to enjoy these for more than just a week or two! Happy DIYing!


