
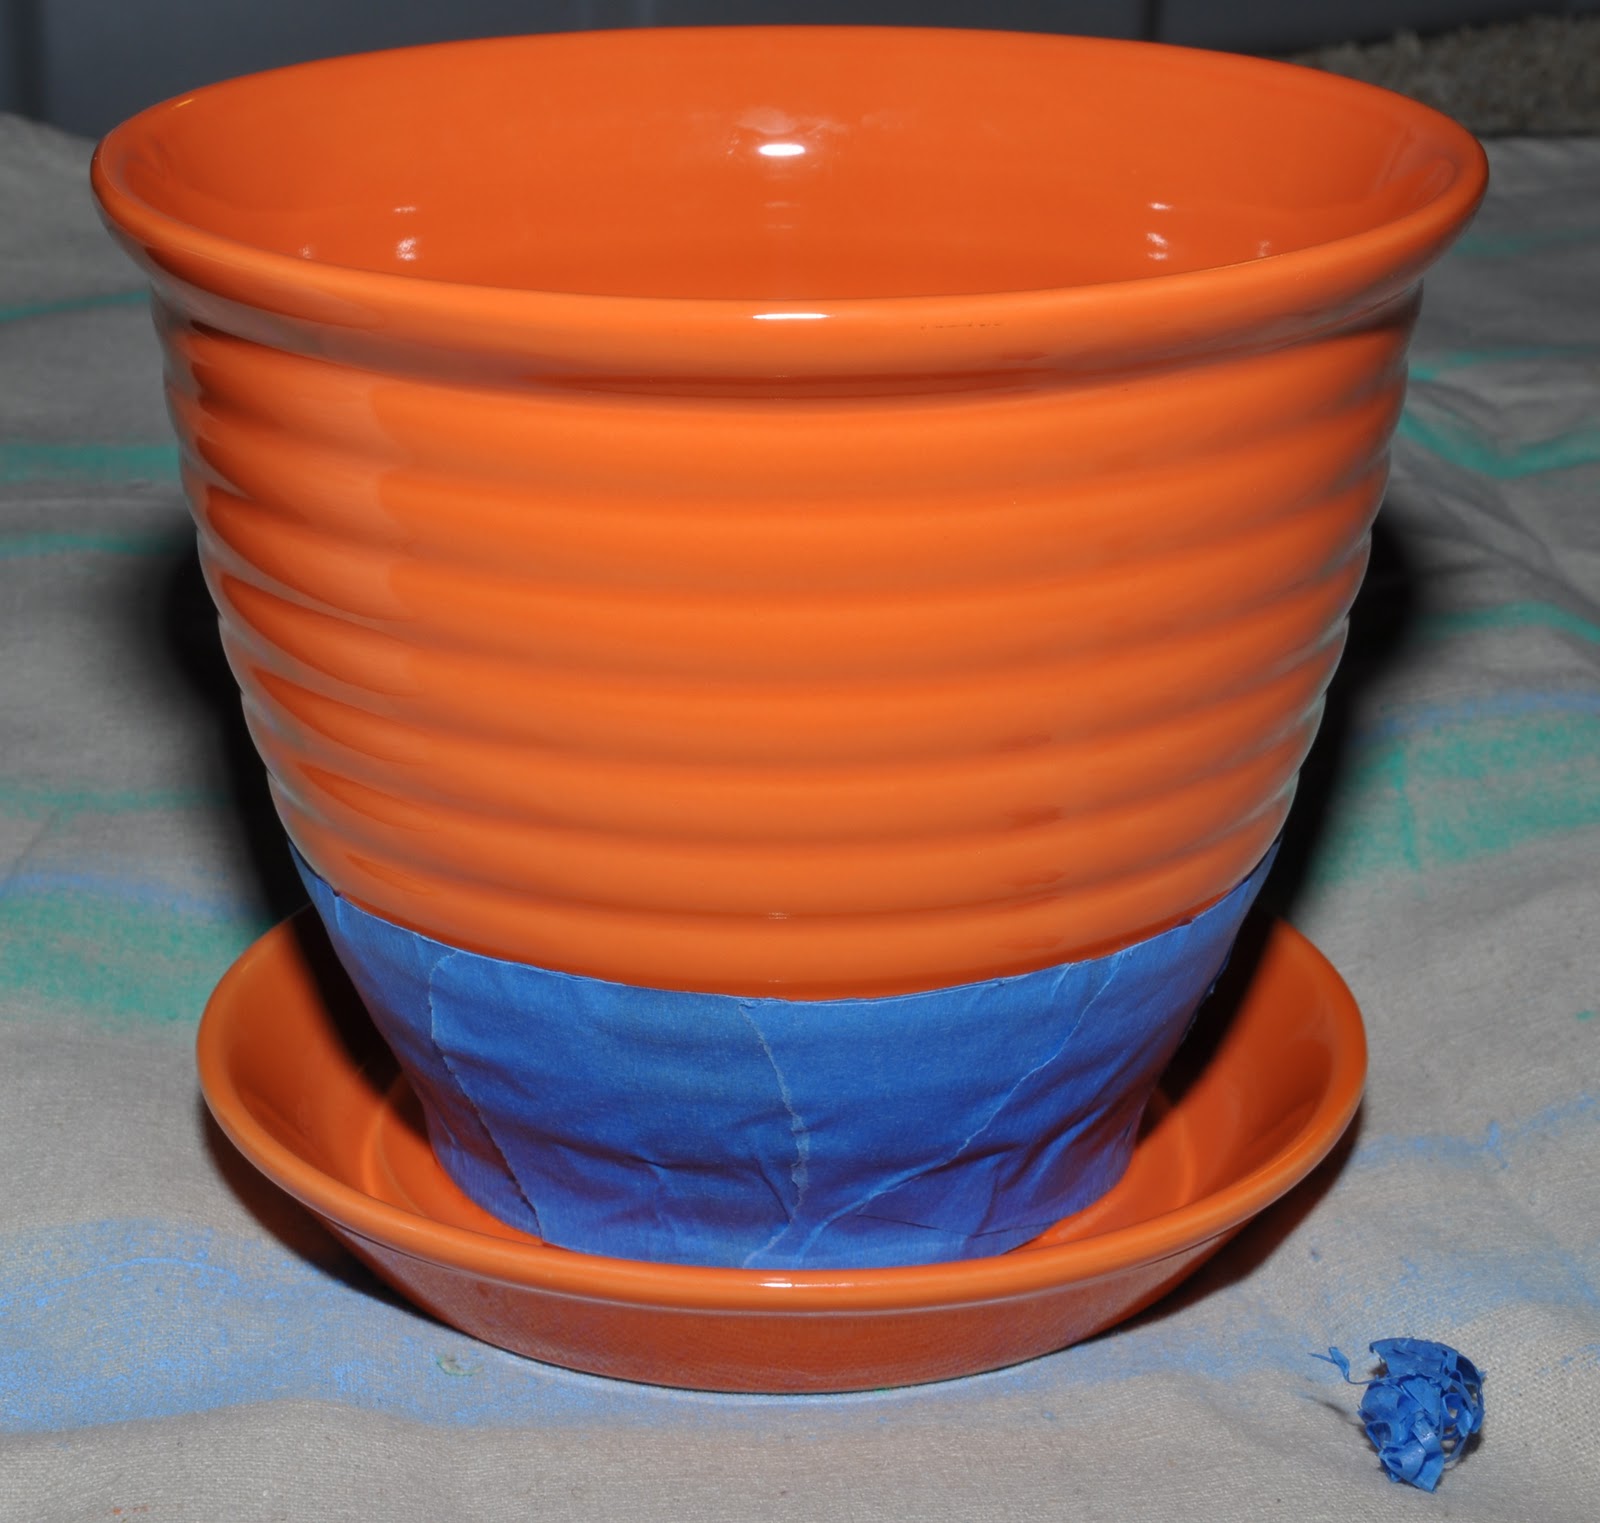
Updating an old plant pot is today's Do It Yourself. I have an orange planter that's been around for ages, and my gerbera is long overdue for a replanting. However, the flowers on the gerbera are orange, and though orange is one of my favorite colors I wanted to update the planter first.
WHAT YOU'LL NEED:
- empty planter
- painter's tape (2 inch)
- two types of house paint
- straight razor
Directions:
I started off by taping off the bottom part of the pot. I butted the tape up to the bottom edge of the planter. I used small pieces all around the edge, because the curve of the planter didn't allow me to just wrap a single piece around the bottom. Once I was done taping off the bottom, I had to use a straight razor, and make the top edge even all the way around.
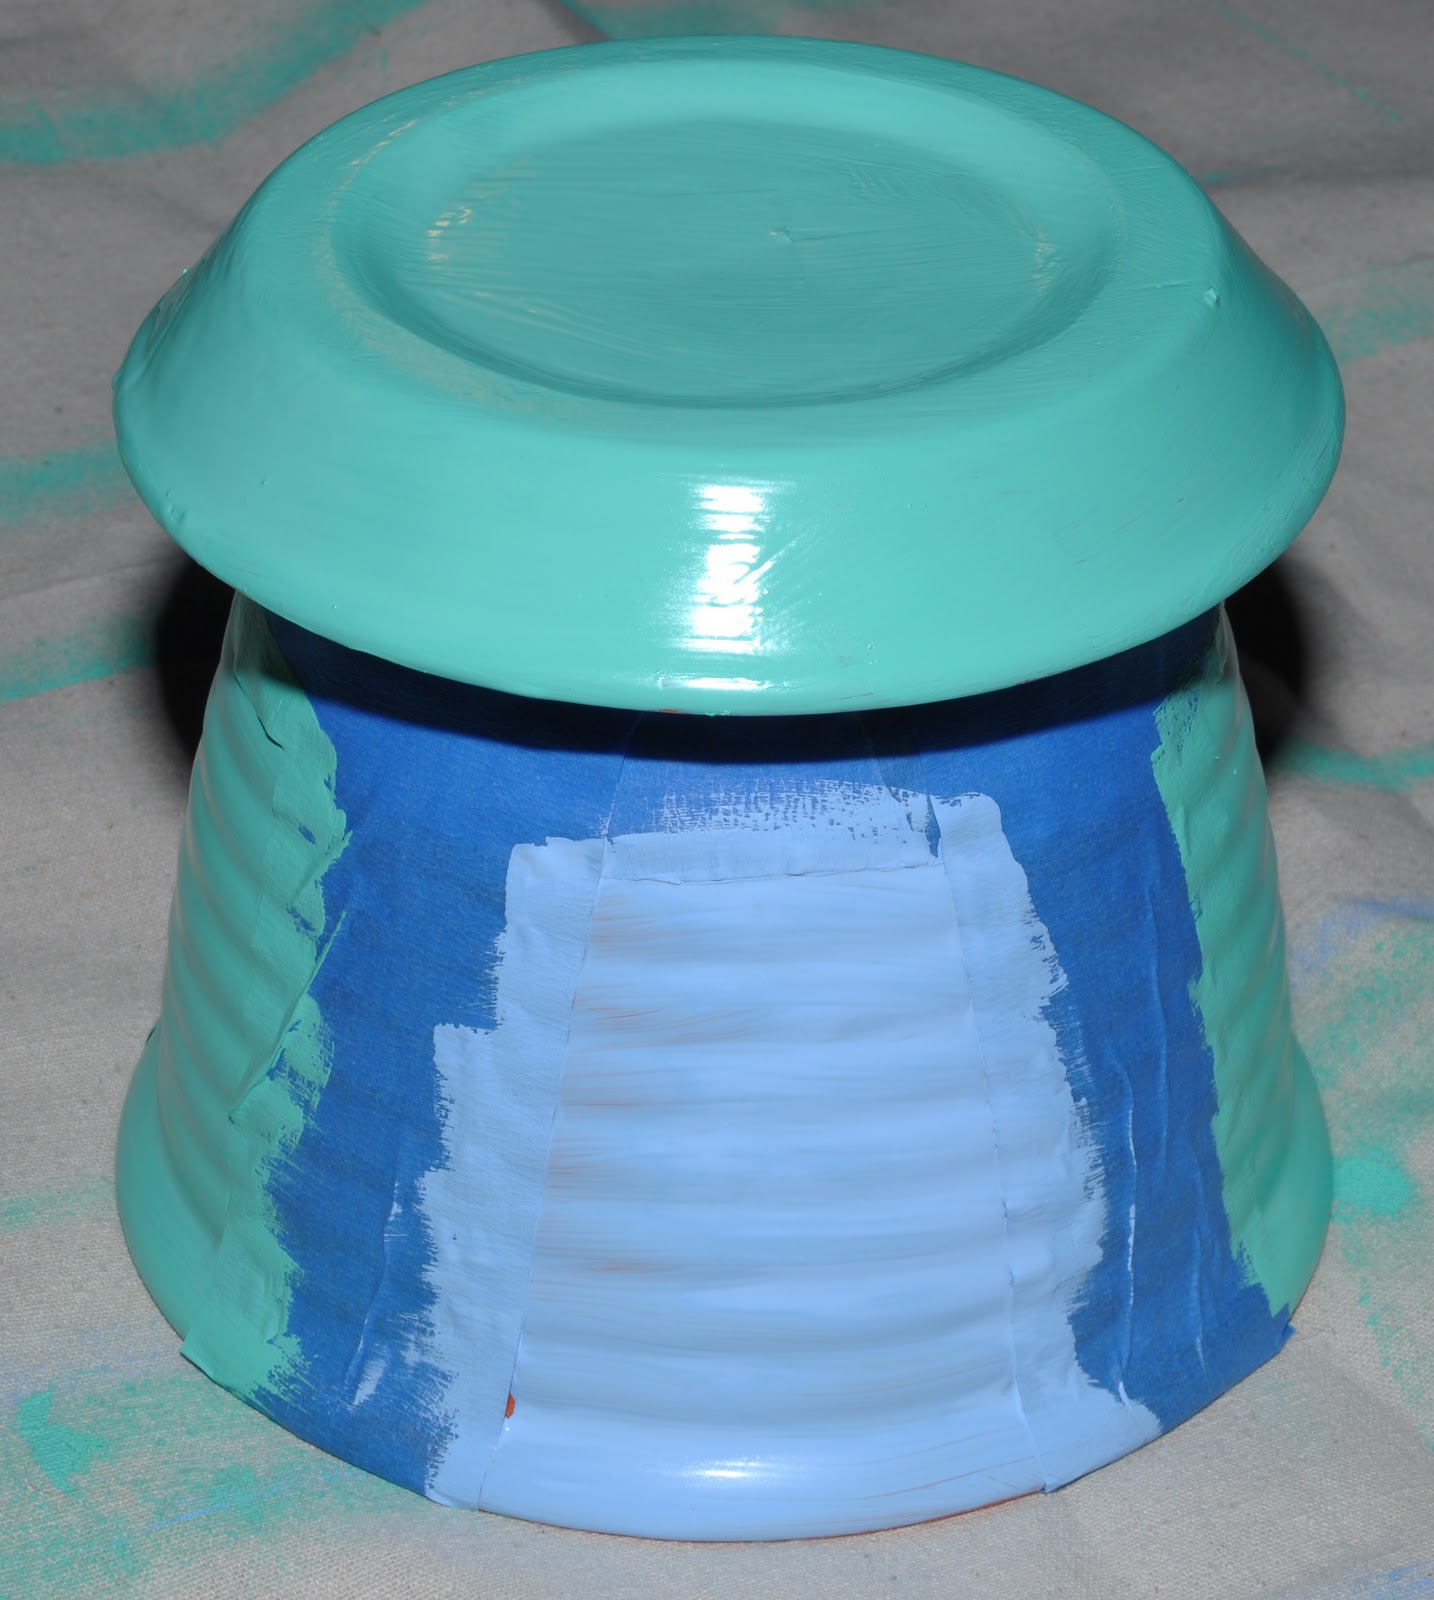
Then, I took four strips of tape, and placed them vertically, and evenly spaced around the pot. Making sure to go over the edges of the tape; to ensure no paint will seep under them.

Now paint two sections one color, and then paint the other two sections and the bottom the other color. Be careful to make smooth even strokes with your brush, so you don't have any streaks. Since the tape is so wide you can hold the planter on the tape, and maneuver it around to paint every exposed spot. I'm keeping the inside orange, so when painting the top edge make sure you paint doesn't drip down the inside.

You may need to let it sit, and paint on a second coat. Afterward, let the planter sit overnight before peeling the tape off.

We will finish this project tomorrow! Until then, happy DIYing!