Showing posts with label dessert. Show all posts

Monday, January 28, 2013

Chocolate Cake for Two


Happy Nom Nom Monday!  I've been on a chocolate kick lately.  I just can't get enough of it.  Most days I don't think about chocolate at all.  Then like clockwork four o'clock rolls around, and I'm salivating for a candy bar, or ice cream with any kind of chocolate chunkiness.  Sure a melty chocolate cake would be delish, but bake a whole cake for one? or two?  Not gunna happen.  Though, as you know I've recently discovered mug cakes that you can cook in the microwave or oven, and they are an amazing solution. Today I made a melty Chocolate Cake For Two.  


Ingredients:
- 4 tablespoons of butter
- 4 ounces of bittersweet chocolate (I had to substitute with baker's unsweetened chocolate & 3 TBSP of sugar)
- 1 egg
- 1 egg yolk
- 2 tablespoons of sugar
- 1 teaspoon of flour
- powdered sugar for garnish

Directions:
Preheat the oven to 450ºF.  Butter an oven proof dish that can hold one cup, and coat the dish with sugar.  In a double boiler melt the butter and chocolate together, stirring regularly.  

In a medium sized bowl whisk together the egg, yolk, and sugar.  Once those ingredients are thoroughly combined add the chocolate mixture while whisking.  Add the flour, and continue stirring until the mixture is smooth.  Then pour into the small buttered dish.  Place in the oven for 15 - 20 minutes.  Remove and turn upside down on a plate to cool.  

Let cool for a few minutes, then gently tap the sides, and lift the dish releasing the cake onto the plate.  If it doesn't come loose, you can flip it upside down and using a butter knife gently separate the cake from the edges of the dish.  Then turn it upside down again, and hopefully it will drop out.  Garnish with powdered sugar, and enjoy with a close friend or lover!    


This dessert is extra decadent.  Part of me wanted to gobble the whole thing down, but my thighs reminded me I should share.  I love warm melty desserts, but I need to remember moderation is the key.  With these cold days and onslaught of holiday gorging, I mean festivities, my pants have become uncomfortably tight.  Time for me to eat more greens, and exercise more!  On that note, Happy Nom Nom Monday, chris!

Monday, January 14, 2013

Chocolate Chip Cookie in a Mug


Over the weekend Aaron and I bought some chocolate chips from the local farmer's market, with the intentions of making chocolate chip cookies.  We still plan to, but I couldn't hold out until we had enough time to bake a whole batch together.  I had to test a sample of the chocolate chips in a mug cookie.  I found a great recipe for one on No. 2 Pencil

For complete instructions check out No. 2 Pencil's Chocolate Chip Cookie in a Cup.  You'll need butter, sugar, brown sugar, vanilla extract, salt, egg yolk, flour, and chocolate chips.  

This was so easy to make, and yet sooooo sooo so yummy.  I could go make another right now, but I'd feel a little (a lot) guilty.  Even if I don't have a New Year's resolutions to lose weight, that's a terrible way to start off a new year!  Especially for me, because a new year is more or less another year of life too, cause my birthday is on the 30th of December.  Anyway this is an amazing dessert made in the microwave, definitely worth a try.  Happy Nom Nom Monday, chris!

Monday, December 31, 2012

Mug Coffee Cake


Happy Nom Nom Monday! I'm still in Birthday Mode, so I made a Mug Coffee Cake.  I found the recipe on Prudent Baby, and she has some great photo instructions.

Ingredients:
- 1 tablespoon of butter
- 2 tablespoons of sugar
- 1 egg
- 1/4 cup of flour
- 1/8 teaspoon of baking powder
For the Crumb Topping:
- 1 tablespoon of butter
- 2 tablespoons of flour
- 1 tablespoon of brown sugar
- a pinch of cinnamon

Directions:
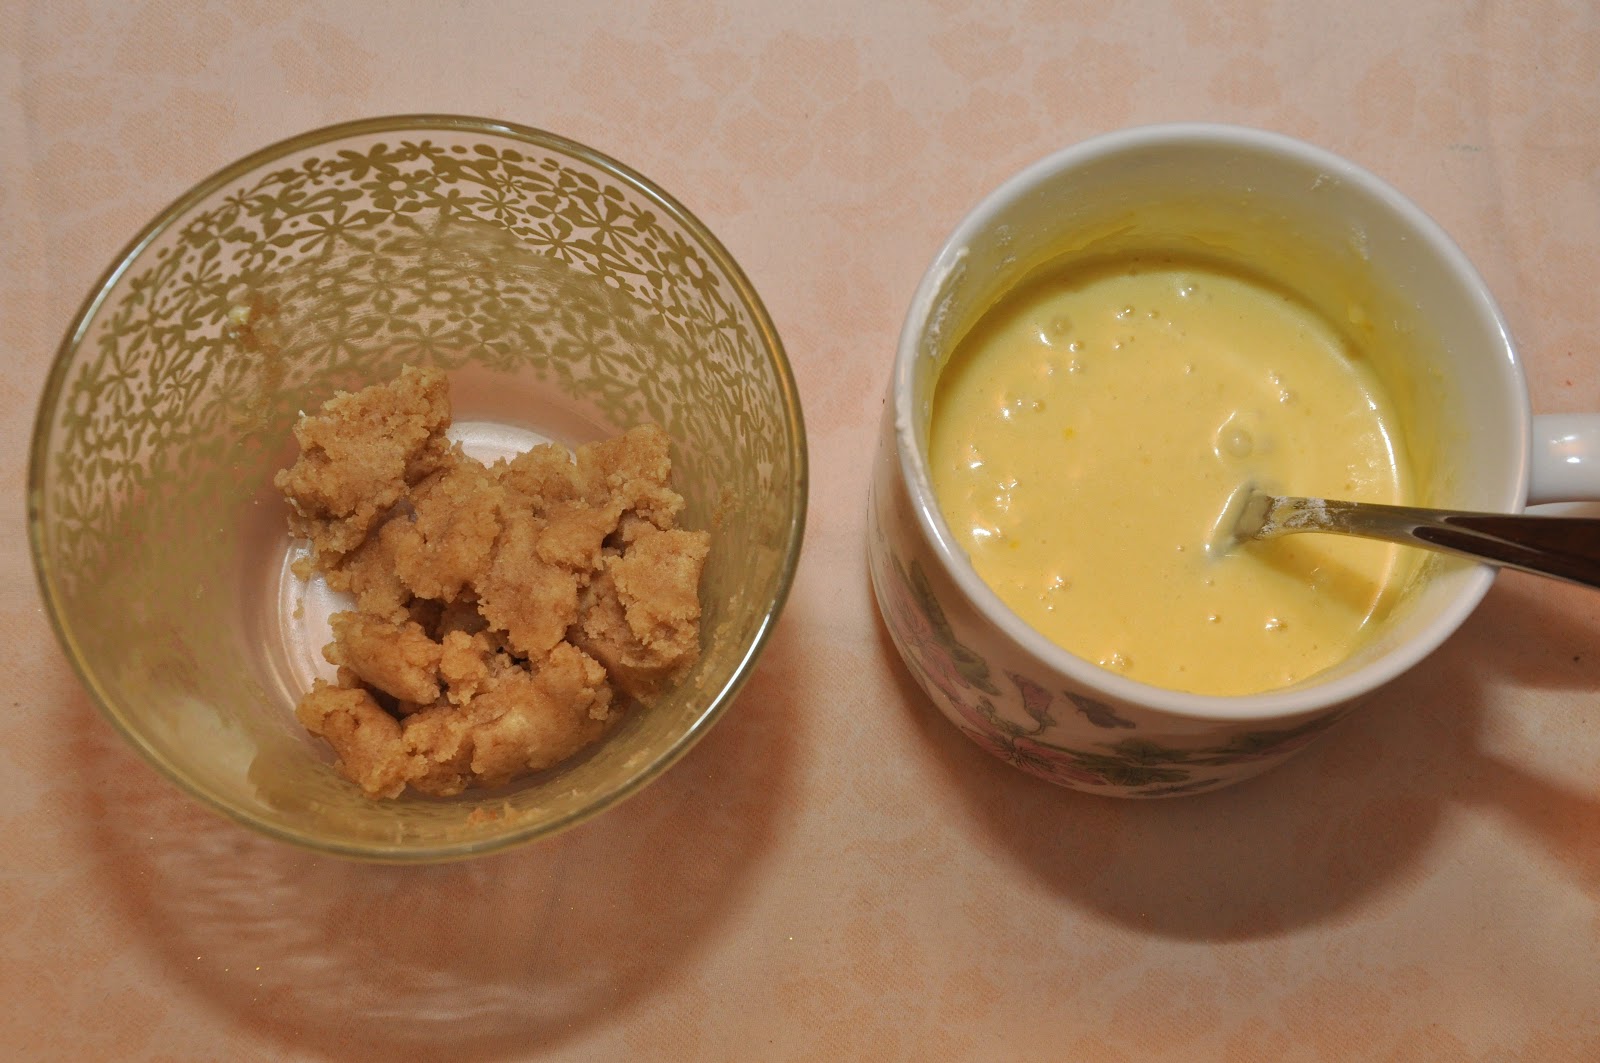
Melt the butter in a coffee mug for about 10 - 15 seconds in a microwave.  Then stir in the sugar.  Next the egg, the the flour and baking powder.  In a separate bowl melt the other tablespoon of butter, and then mix the flour, brown sugar, and cinnamon in.  

Finally crumble the mixture over the top of the ingredients in the mug.  

Microwave for 60 seconds, and if it looks to gooey add an additional 10 seconds.   Let it cool down a bit before enjoying.  

I enjoyed every bite of this.  I can't believe it's been so long since I've had a mug cake.  I guess they're more of winter treat though.  Which means this is the perfect time of the year to enjoy a cabinet full of mug cakes!  Happy Nom Nom Monday, chris!

Monday, December 24, 2012

Cookies, Cookies, and more Cookies!


Happy Nom Nom Monday, and Christmas Eve! I know what a lot of people will be cooking tonight, COOKIES!!!  To save money this year my brothers and I are exchanging cookie instead of presents.  I love trying new recipes, and today I'm going to share the three cookies I baked for our cookie exchange.  

Chocolate Drop Cookies:
Dough--
-  1 cup of granulated sugar
-  1/2 cup of butter (softened)
-  1/3 cup of buttermilk
-  1 teaspoon of vanilla extract
-  1 egg
-  2 ounces of unsweetened baker's chocolate
- 1 3/4 cup all-purpose flour
-  1/2 teaspoon salt
-  1/2 teaspoon baking soda
-  1/2 cup pecan pieces
Frosting--
-  2 ounces unsweetened baker's chocolate
-  2 tablespoons butter
-  2 cups powdered sugar
-  3 tablespoons hot coffee
-  1/2 cup of pecan pieces (for garnish)

Directions:
Preheat the oven to 400ºF, and grease a cookie sheet.  Using a double boiler melt the baker's chocolate.  Once fully melted let cool to room temperature.  In an electric mixer, beat together the sugar, butter, buttermilk, vanilla extract, egg, and melted chocolate.  After those ingredients have fully combined, add in the flour, salt, and baking soda.  This should make about 36 cookies.  I know not everyone is a big fan of nuts, so I baked half the cookies at this stage, and mixed in the nuts to the leftover dough, and finished baking the rest of the cookies.  The cookies should bake for about 8 to 10 minutes.  

After the cookies have cooled make the icing.  Melt the chocolate and butter together in the double boiler.  Then stir in the powdered sugar and hot coffee.  Spread the icing on the cookies, and for the nut cookies top with the pecan pieces.  


Pignoli (Pine Nut) Cookies:
-  2 cups almond paste (16 ounces)
-  1 1/4 cup granulated sugar
-  1 cup powdered sugar
-  1/2 teaspoon salt
-  2 large egg whites
-  2 tablespoons of honey
- 1 cup all-purpose flour
-  1 1/4 cups pine nuts

Directions:
Preheat the oven to 325ºF, and line the cookie sheets with parchment paper.  This is a recipe that really needs parchment paper.  Normally I try to skip this step to be more green, but I had to adjust the recipe to make it work without parchment paper.  Another problem I had with this recipe is that the almond paste only came in 7 oz. packages, and I didn't want to buy three packages only to use two ounces out of the third one.  If I didn't have enough things working against me I also added an extra egg white for some odd reason.  This resulted in the dough being beyond sticky, so I wasn't able to roll it into balls.  To fix this problem I left the dough in the fridge overnight, and then in the morning I added about a cup of flour by 1/4 cup increments.  

To prepare this dough mix together the almond paste, both sugars, salt, egg whites, and honey.  If the dough isn't to sticky at this point, and you would be able to roll it into 1.5 inch balls go for it.  However if it is too sticky, or if you accidentally added an extra egg white, or if the cookies are sticking to the pan after baking then add in the flour.  Once the dough reaches the desired consistency, it is ready to be rolled into 36 balls, and before being placed on the cookie sheet they can be rolled in the pine nuts.  Then bake for 15 to 18 minutes.  I also didn't buy enough pine nuts, so I used those sparingly, and had to substitute with toffee bits on a few of the cookies.  


Peanut Butter Pillows:
Chocolate Dough:
- 1/2 cup canola oil
- 1 cup sugar
- 1/4 cup maple syrup
-  3 tablespoons of milk
 - 1/2 teaspoon vanilla extract
- 1 1/2 cup all-purpose flour
- 1/3 cup unsweetened cocoa powder
- 2 tablespoons black unsweetened cocoa powder
-1/2 teaspoon baking soda
- 1/4 teaspoon salt

Peanut Butter Dough:
- 3/4 cup peanut butter (creamy or crunchy)
- 2/3 cup powdered sugar
- 2 tablespoons milk
- 1/4 teaspoon vanilla extract

Directions:
In an electric mixer combine the oil, sugar, maple syrup, milk and vanilla extract.  Slowly add in the flour, cocoa powder, baking soda, and salt.  Once that is completely mixed together, stick in the fridge while mixing the other dough.  

Mix the peanut butter, powdered sugar, milk, and vanilla together.  Preheat the oven to 350ºF, and grease the cookie sheets.  Then form the peanut butter dough into 24 balls.  Next, remove the chocolate dough from the fridge, and form into a flat disc.  Then place a peanut butter ball in the center, wrap the chocolate dough around the peanut butter ball, and then roll into a ball.  Place about two inches apart on the cookie sheets.  

Bake for about ten minutes.  Let cool for about five minutes before transferring to a wire rack to complete cooling.  


I'm amazed by how easy these were to make.  I was certain they would be the hardest.  That's why I left them for last, but now I'm considering making another batch!  I made an extra cookie (or two) to taste, and they are killer.  The original recipe from Post Punk Kitchen is vegan, but I didn't have non-dairy milk or natural peanut butter, so I used what I have, and it turned out great.  

I hope my brothers and their ladies enjoy these cookies as much as I enjoyed my adventure in baking them.  (Again) Happy Nom Nom Monday, and Christmas Eve, chris!

Monday, October 8, 2012

Banana and Peanut Butter Heaven


Do you ever try a new recipe and think, 'Damn, I'm glad I tried making that, cause it's delicious!'?  I do all the time, and today was the perfect example of that.  I tried out King Arthur Flour's recipe for Banana Cupcakes with Peanut Butter Frosting.  I don't have King Arthur Flour, but I figure that doesn't so much matter.  I found the recipe on Pinterest, of course.  

Ingredients: 
CAKE
- 1/2 cup softened butter
- 1 1/4 cups sugar
- 2 eggs
- 2 medium bananas (the riper the better)
- 1/4 cup honey
- 1/4 cup plain yogurt
- 1 teaspoon vanilla extract
- 1 teaspoon baking powder
- 1/2 teaspoon baking soda
- 3/4 teaspoon salt
- 1 teaspoon ground cinnamon
- a pinch of nutmeg
- 2 1/3 cup flour
FROSTING
- 2 cups confectioner's sugar
- 3/4 cup peanut butter, smooth or chunky
- 1 teaspoon vanilla extract
- a pinch of salt
- 1/3 to 1/2 cup of milk
- 1/4 cup toffee pieces  

Directions:
Preheat the oven to 350ºF, and prep a muffin pan with grease and/or cupcake papers.  I used silicone cups that I sprayed with a veggie oil spray.  Then in a kitchen mixer I combined the softened butter and sugar together.  Once they were well combined, I added the eggs individually.  While that was mixing throughly I cut the bananas up into bite sized chunks, then dropped them in the mixer by the handful.  Next I added the honey, yogurt, and vanilla.  Then I was able to move on to the dry ingredients.  I added the baking powder, baking soda, salt, cinnamon, nutmeg, and flour in that order individually.  The flour I added by the tablespoon with the mixer on slow.  Once everything was throughly combined I filled the cupcake cups with the batter.  Fill to the top, because they don't rise too much.  I should have filled a few of mine more, they were a bit on the flat side.  

Then I popped them in the oven for 25 minutes, which was perfect.  The edges were a nice golden brown, and a toothpick stuck in the center came out clean.  

After the cupcakes cooled I got to making the frosting.  I mixed together the powdered sugar and peanut butter together.  That seemed to take forever to throughly mix, but then I added the vanilla, and pinch of salt.  Then I slowly added the milk,  I used most of a 1/2 cup of milk, but I think my frosting was a bit runny.  It's easy to add more milk to thin, but it's more work to add more sugar to thicken it.  I just went with the runny frosting.  Before frosting the cupcakes remove them from the muffin pan, and get to town.  I'm lazy so I just used a metal spatula, but you can definitely pipe it on for a prettier outcome.  I finished up by sprinkling toffee bits over the tops of them.  The recipe I was following suggested honey roasted peanuts.  I'm sure both would be amazing!  

They aren't beautiful, but they taste amazing.  The banana isn't overwhelming, and the peanut butter is creamy and perfect.  This will be a great quick breakfast on busy mornings.  I can't wait to eat another one!  :)  

Happy Nom Nom Monday, and happy DIYing, chris

Monday, September 3, 2012

Sopapilla


Happy Labor Day and Nom Nom Monday!  I love Monday holidays.  There should be at least one of these every month.  I made Sopapilla for our family gathering.  My friend Kristen had this at her house one night, and I loved it.  I found a recipe for it on Chocolate Therapy, and decided today would be the perfect day to try it out.  It tastes like a cheesecake and a cinnamon roll had a baby.  A yummy baby!  

Ingredients:
- 2 cans crescent rolls
- 16 oz of cream cheese
- 1 cup white sugar
- 1 teaspoon vanilla
- 1/4 cup butter
-1/3 cup white sugar &1/2 teaspoon of ground cinnamon mixed together

Directions:
Preheat the oven to 350ºF.  Spread one package of crescent rolls over the bottom of a glass 13"x9" baking pan.  The crescent rolls will completely cover the bottom of the pan.  

Mix together the softened cream cheese, sugar, and vanilla.  Spread the mixture over the crescent rolls.

Roll out the other can of crescent rolls over the cream cheese mixture.  This one is a little trickier, because with the layer underneath you can't go back and move the pieces. Though if you start out in the right place, it's not messy at all.  

Melt the butter in a small dish, and mix together the cinnamon and 1/3 cup of sugar in a separate dish.  

Using a brush spread the butter over the pastry, and any remaining butter can be gently poured over the top.  Thickly dust the top with the cinnamon and sugar mixture.  

Then pop into the oven for 25 - 30 minutes.  

They taste great served warm or cold.  I love the cinnamon sugar with the pastry, and the cream cheese.  MMM!!!

I'm going to go enjoy the end of my holiday weekend.  Happy DIYing, chris!

Monday, August 13, 2012

Peanut Butter Pie


Happy Nom Nom Monday! I wanted a dessert, and it being summer I didn't want to bake. Dessert for me usually involves either chocolate or peanut butter.  This delectable treat has both! AND, it's extra easy to make!  I love a good Peanut Butter Pie, and Baked Bree's recipe is fantastic.  Eat-the-whole-pie-at-once kind of yumminess.  

Ingredients:
crust--
- 1 1/2 cups graham cracker crumbs
- 1/3 cup sugar
- 6 tablespoons of melted butter
filling--
- 2 cups heavy cream
- 1 cup peanut butter
- 4 ounces of cream cheese
- 3/4 cup white granulated sugar
- 1 teaspoon vanilla
- 1 cup chocolate chips

Directions:
Heat the oven to 375ºF.  I know I said no baking, but sticking a pie crust in the oven for a few minutes doesn't count, does it?  Melt your butter, and mix it with the sugar and graham cracker crumbs.  Press into a pie pan.  Stick in the oven for 7 minutes, and let cool before pouring in the filling.  

Whip the heavy cream, and set in the 'fridge.  Don't worry about cleaning out the mixer, and dump the peanut butter, cream cheese, and sugar in mixing throughly.  Once doughy add the vanilla.  Then slowly add in the heaving whipping cream that we set aside in the refrigerator.  It will become similar to thick pudding when completely mixed together.  Finally hand stir in the chocolate chips, and pour mixture into the cooled pie crust.  

Sprinkle a few chocolate chips over the top, or if you have extra heavy cream, you could mix up some whipped cream.  No extra heavy cream here, so no whipped cream.  Let pie setup in the refrigerator for at least an hour, but best overnight.  

Scoop out and enjoy!  We were overly excited and tried to serve ourselves too early.  The pie didn't appear to be jiggly, but as soon as we tried to pull a piece out it started to run down the spatula.  We gently placed it back into the pie, and impatiently stuck it back in the ice box.  Then I watched the clock waiting for my slice.  

Taa-dah!  It was well worth the wait!  Hope you're having a fantastic Monday, and happy DIYing, chris!

Monday, May 28, 2012

Peanut Butter Nutella Brownie Trifle


Happy Memorial Day, and Nom Nom Monday!  Today's dish is the prefect dessert for summer holidays like Memorial Day.  I made a Peanut Butter Nutella Brownie Trifle.  I adapted this recipe from How Sweet It Is' recipe for a Peanut Butter Fudge Brownie Trifle.  It's best to prepare this yummy treat the day before you plan on serving it.  

WHAT YOU'LL NEED:
- 5.5 oz box of Instant Vanilla Pudding
-Your favorite Brownie recipe (I used a box mix, because we had it, and it cut down on the work)
- 1 Bag of Reese's Peanut Butter Cups
- 1/2 Bag of Reese's Pieces
- 2 Cups Heavy Cream
- 4 Tablespoons of Sugar (white, granulated)
- 1 Cup Creamy Peanut Butter
- 3 Tablespoons of Nutella
- 8 oz Cream Cheese
- 1 Cup Powdered Sugar
- 2 Tablespoons of Milk


Directions:

Start by making the instant pudding.  Follow directions on the package.  I suggest starting this early in the day, because it takes a couple hours to firm up in the refrigerator.  Next, make the brownies.  I used a box mix, and just followed the direction on there.  While the brownies are in the oven, unwrap the peanut butter cups, and cut them into quarters.  

When the brownies are done cooling down, cut the brownies into tiny squares.  Then make the whipped cream layer, by combining the heavy cream and sugar in an electric mixer.  Whip the two ingredients together until they thicken up, and start to look like whipped cream.  I worked my way up to a fast speed, and it took almost five minutes to get thick enough.  When that's done, stick it in the fridge until you are ready to start layering.  

Now mix up the Peanut Butter Nutella layer.  Don't worry about cleaning out the mixer, and combine the peanut butter, nutella, and cream cheese.  Once those ingredients are well mixed, add in the powdered sugar, milk, and a cup of the whipped cream mixture.  Mix until creamy.  


Finally we can start layering everything in a large glass container.  You can layer the ingredients in whatever order you like.  I started with the brownies on the bottom, then the peanut butter nutella mixture, the pudding, the whipped cream, then the peanut butter cups and reese's pieces.  

The candy looks tasty on top!  How Sweet It Is piped her whipped cream on the top layer.  Which looked awesome, but was more work then I wanted.  I obviously took the easy route with this, but if you're trying to impress, I'd suggest piping on the final layer of whipped cream.    

I like my trifles to be three layers, so finding the correct sized container is important.  Or you could make many small trifles, with only one layer of each ingredient.  The smaller cups would probably be less messy serving.  I've made a similar trifle to this before, and once you dig in, this dessert looks less pretty, and more like a big slop.  A slop of amazing tastiness of course!  Maybe trying the smaller individual cups would maintain the pretty layered look.  Hope ya'll enjoy!  Happy DIYing, chris!

Monday, January 30, 2012

Slutty Brownies

Today I baked Slutty Brownies.  They are to die for amazing!  You combine chocolate chip cookies, Oreos, and brownies together to get the easiest, filthiest, brownie you will ever try.  Perfect with a cold glass of milk ... mmmm.  

WHAT YOU'LL NEED:
1 box of brownie mix (this is what my brownie mix called for)
- 2 eggs
- 1/3 C oil
- 1/3 C water
1 box of chocolate chip cookie mix (this is what my brownie mix called for)
- 1 egg
- 1 Cup of butter (one stick)
1 box of Oreos (I used double stuffed)

Directions:
Preheat the oven to 350 degrees Fahrenheit.  Begin by buttering a 9x9 pan, and then coating with sugar, this will keep the dessert from sticking.  Mix your chocolate chip cookies according to the box instructions.  Feel free to make your cookies from scratch.  I had never noticed that you could buy a chocolate chip cookie mix before, so I wanted to see how it would turn out.  Once you've mixed up the cookie dough evenly spread in the bottom of your 9x9 pan. 

Evenly place your Oreos on top of the cookie dough.  I wanted to try out peanut butter Oreos, but my husband insisted on the double stuffed creme kind.  

Now mix up your brownies according to the box directions.  Of course you can always make your own brownie mix instead!  When it's thoroughly combined, pour over the Oreo's and evenly spread to the edges using a spatula.  

Bake in the oven for 40 minutes, or according to the directions for your brownie mix.   Let cool before serving.

They will be ultra gooey.  

Be aware not to over cook the chocolate chip cookie on the bottom.   The cookie has a shorter cooking time than the brownies on top.  If you leave the dessert in longer to cook the top, the bottom will dry out.  

Every last bite is simply amazing!  You'll be licking your plate!

Hope you enjoyed!  Happy DIYing!