Showing posts with label growing from kitchen scraps. Show all posts

Tuesday, May 8, 2012

Growing Garlic and Onion

This is my favorite gardening book.  

Don't Throw It, Grow It!, it has great tutorials with the cutest drawings on how to grow great things from your table scraps.


I posted previously on growing ginger, and this time I'm trying to grow onion and garlic in pebbles.

I used a tupperware container, and I rinsed some river rocks I bought at a garden center.
Rocks look awesome when they're wet.  I thought about painting the outside of the tupperware containers, but I then I decided seeing the pebbles would be pretty, and watching the roots grow around them (hopefully) will be rewarding.
 After washing the pebbles I filled my container 2/3 of the way.
Then I placed my onion on top, and filled with small rocks around the sides, leaving 1/3 of the onion visible.
To finish, I filled the container with water, to the top of the rocks.
This is what my indoor garden looks like currently.  From left to right I have an orchid plant, a gerbera daisy, the garlic and onion, and then a small collection of cacti.
I followed the same directions for the garlic as the onion.  I hope they grow big and strong in there.  If this works well, maybe I wont have to buy garlic again!  At the very least I could have a pretty display.

Hope ya'll enjoyed, happy DIYing, chris! 

Friday, February 24, 2012

Growing Ginger

I have this great book called 
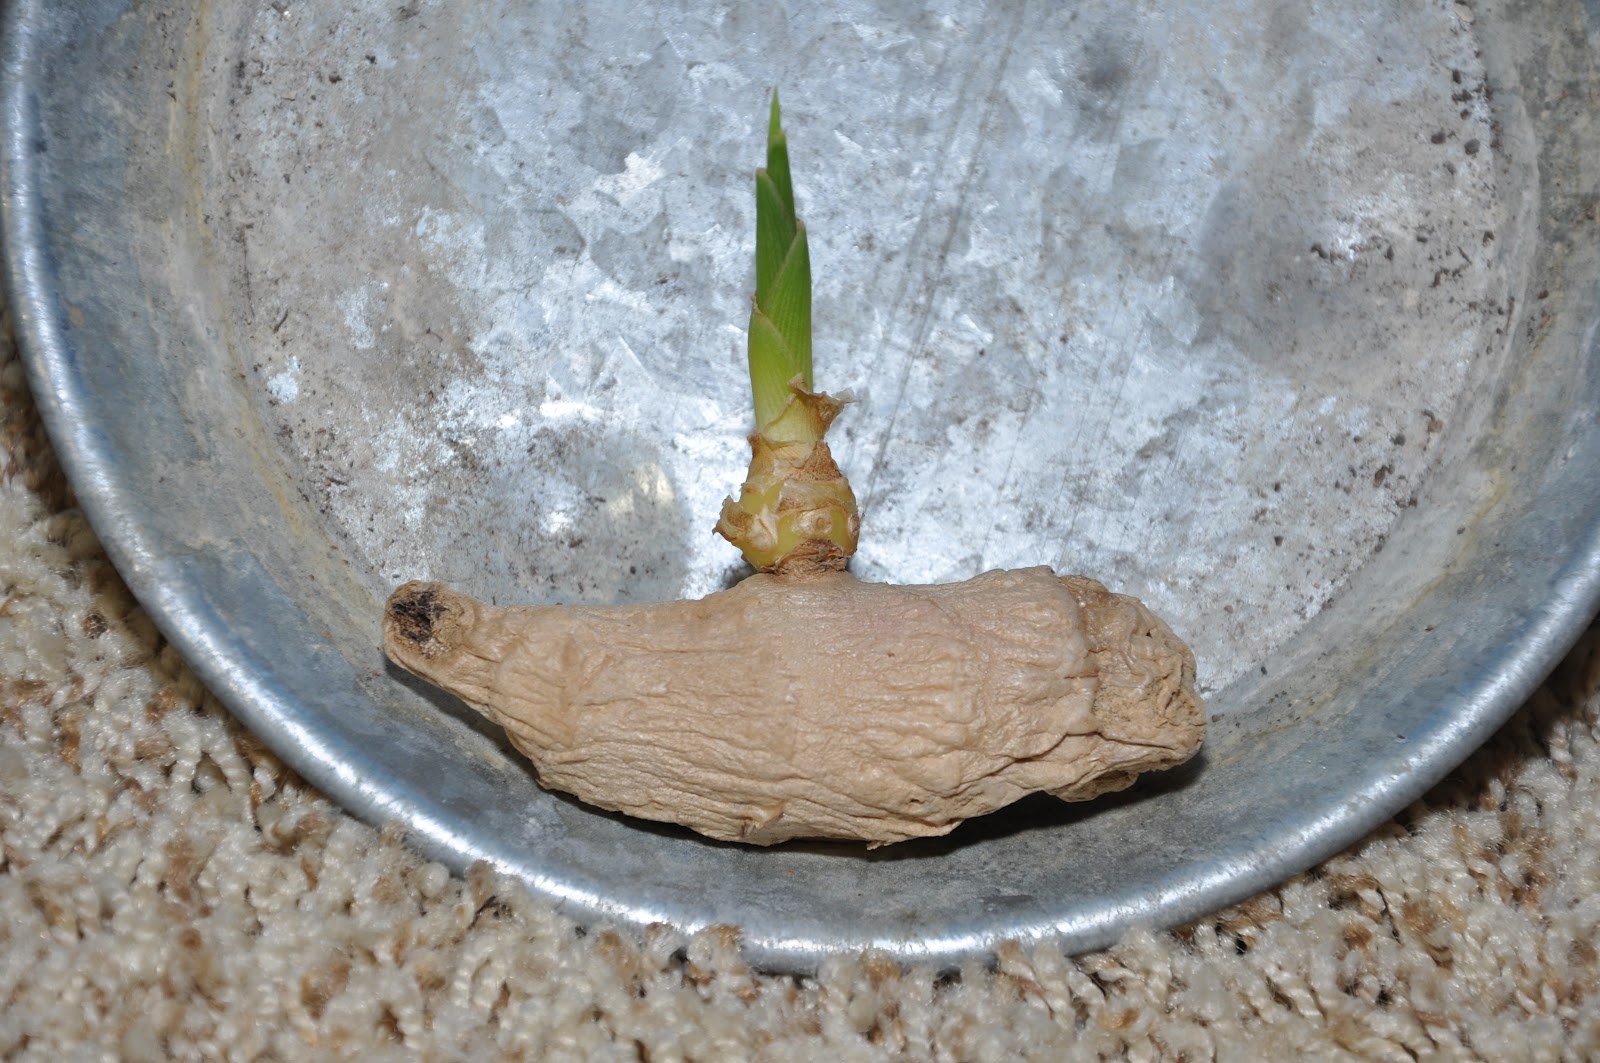
Don't Throw It, Grow It.  It has 68 different windowsill plants grown from kitchen scraps!  Today i tried the directions for growing ginger.  I had some left over ginger that I wasn't able to use before it started growing.

Though you don't have to wait until your ginger is growing like mine to try out this simple DIY.

All you have to do is grab a shallow dish with drainage holes.  My holes are really large, so I used this piece of handmade cabbage paper to cover them up.  I tore off two pieces.

Then I placed them over the holes.


Next, I filled the dish up 2/3 of the way with regular soil, and then I placed the ginger on top of the dirt.

I watered the little guy.

Then I placed him under my grow light.  No photos of the lights, but I use two ikea FOTO aluminum pendant lamps with 65 watt compact fluorescent full spectrum photo bulbs.  I've had great luck with just one of these guys, and just recently up it to two lights.  

This is my little garden.  A Gerbera Daisy (in a DIY planter), an orchid (no clue what kind), some tiny cacti, and our newest addition the ginger!  

Happy DIYing! chris