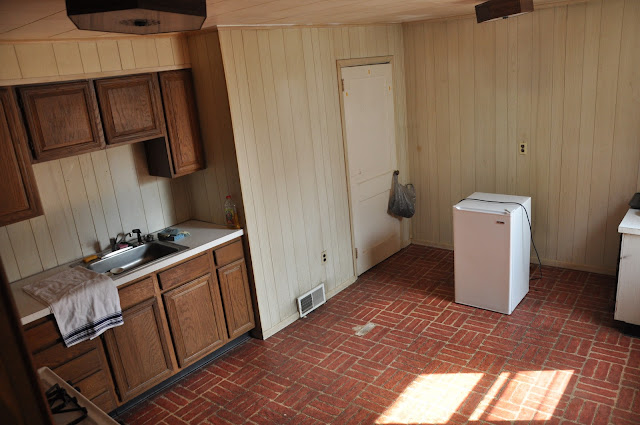
Lots of long hours of painting. Right now I'm focusing on getting the kitchen done. Not one room in our house is ready to be moved into yet, but I'm trying to change that.
I started off by scrubbing the kitchen down. I used a water and bleach mixture to begin. Oh yeah, and there was some washing soda (not photographed) in there to. For the tough spots I used Goof Off to cut through the heavy grease that clung to the walls around the stove. I think I'm in love with this Cabinet & Wood cleaner, it smells like amaretto. The Goo Gone was for paint spills or super sticky spots. I also removed any outlet and light switch covers, vents, and the ceiling light fixtures.
After the cleaning I taped any areas I didn't want paint on. I also covered some of the cabinets with plastic. Normally I would prefer to remove the kitchen cabinets before painting, but this paint job is just a temp fix until I can take the ceiling tiles and wood paneling down. I taped around the whole perimeter of the room, leaving no gaps between the baseboards and the floor. Even in the small closet.
Once everything was covered I started with primer. I used Kilz2, and a large pan for my roller, and a smaller tray for my edging brushes.
I like to have a variety of sizes for painting the corners, and all the grooves in the paneling. Cutting in from the edges with the paint brushes makes rolling a lot less messy. I used the larger roller for the ceiling and large expanses of wall space. The small roller for over the doors, and over the cabinets.
This is an example of one coat on the left, and two coats rolled out on the right. The right side still needs a second coat with the brushes in the corners and along the edges. My biggest tip for getting nice even coats of paint is to avoid splatter marks or drips. If they do happen, roll over them or brush over them with a brush that has little to no paint on it. When rolling if you are creating lines use less pressure, and make sure you're applying even pressure over the whole roller. If it looks uneven and patchy when wet, it will still be uneven and patchy when dry.
Here is another example of two coats on the left, and one coat on the right. As long as your first coat is smooth it will be easy to fill in with the second coat. If you do have drips be sure to sand them, and clean the surface before painting another coat.
Today I finished two coats of primer on the ceiling, and all the walls except for in the closet, and around the cabinets. So far I've spent three days priming this kitchen, and two days cleaning it! I'm looking into buying a airless paint sprayer for the rest of the house. Painting is way too time consuming.
Hope ya'll are having a good day, and happy DIYing, chris!


