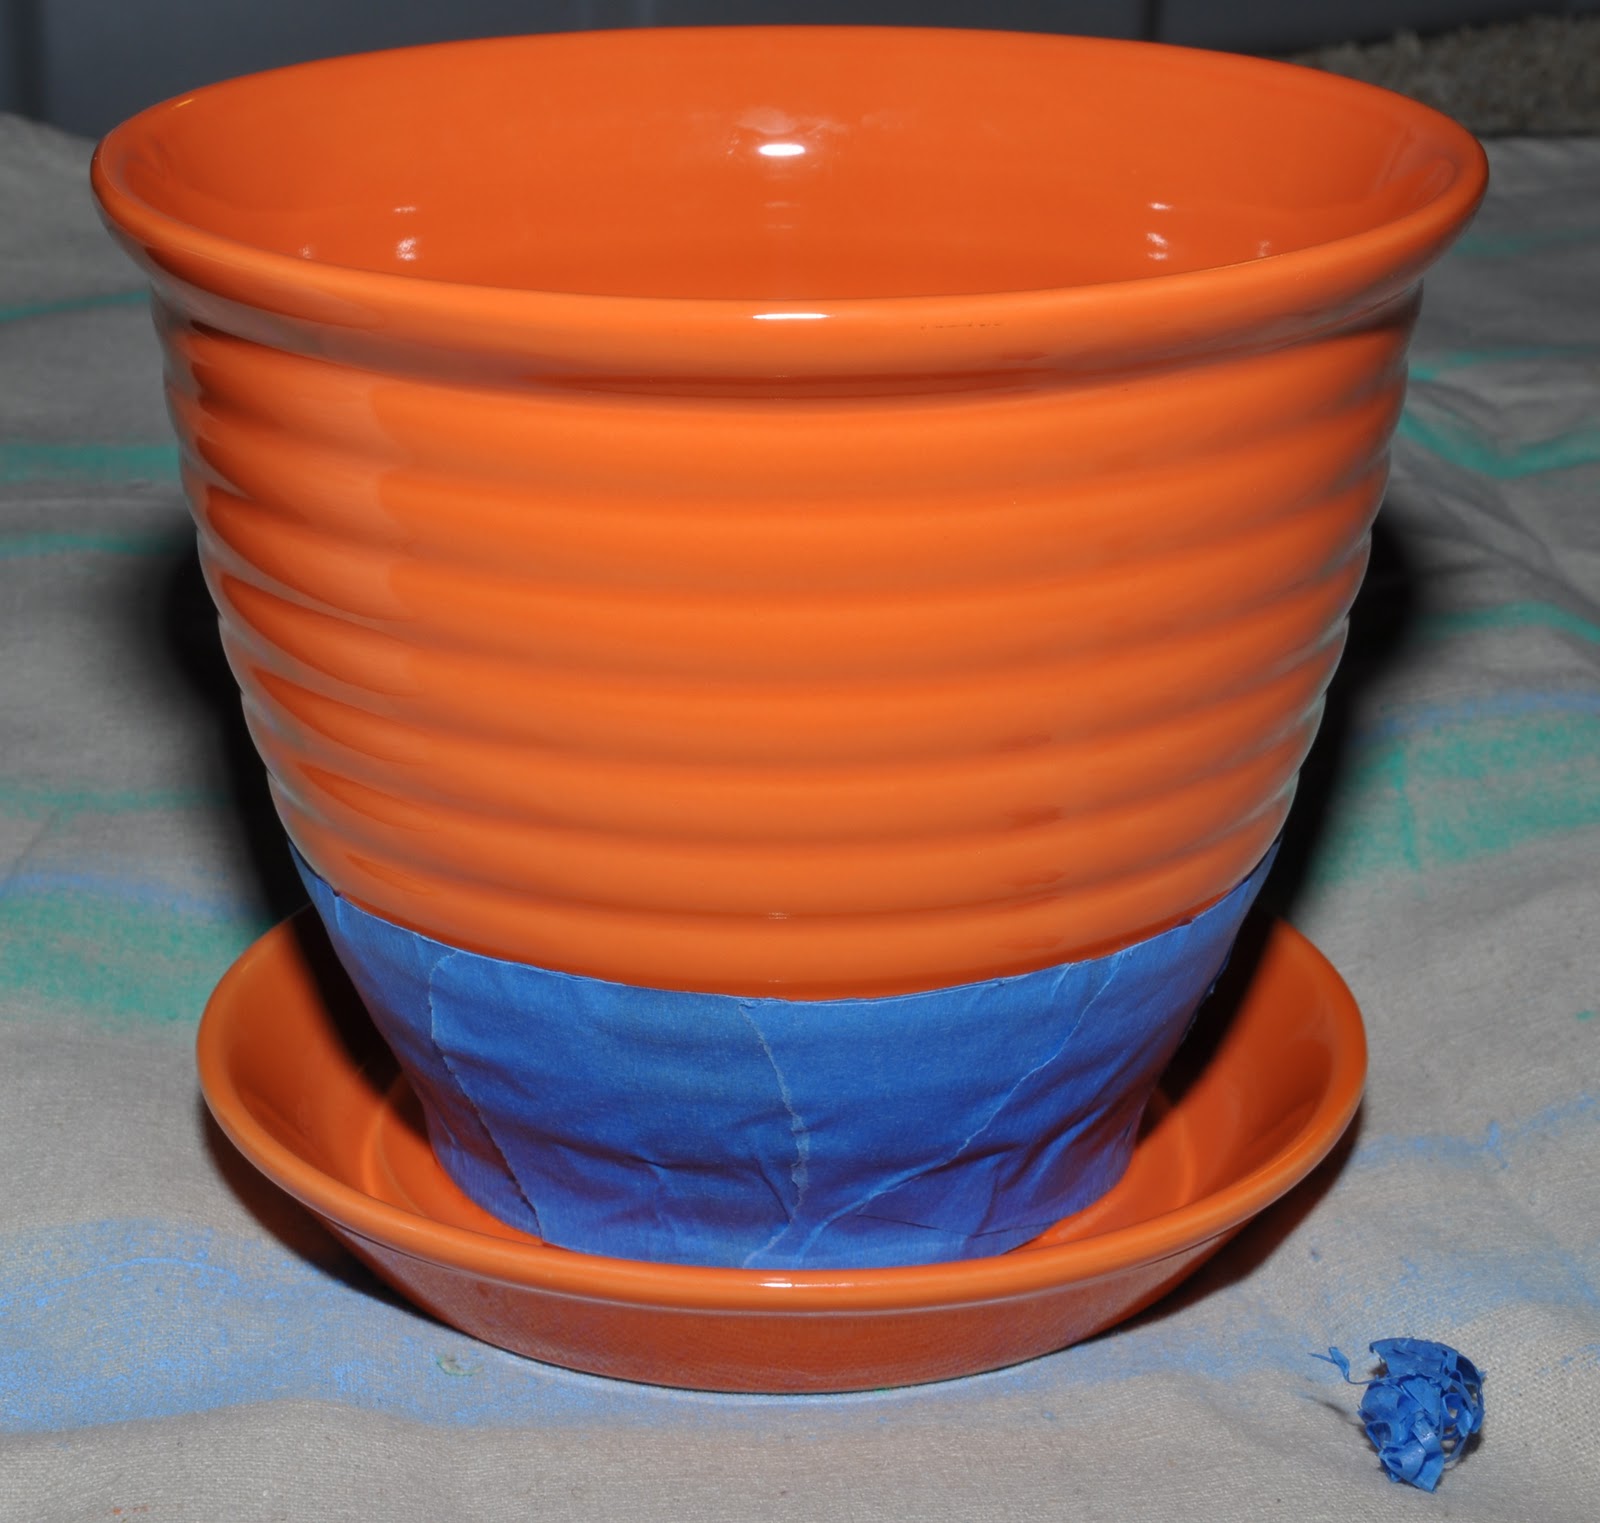
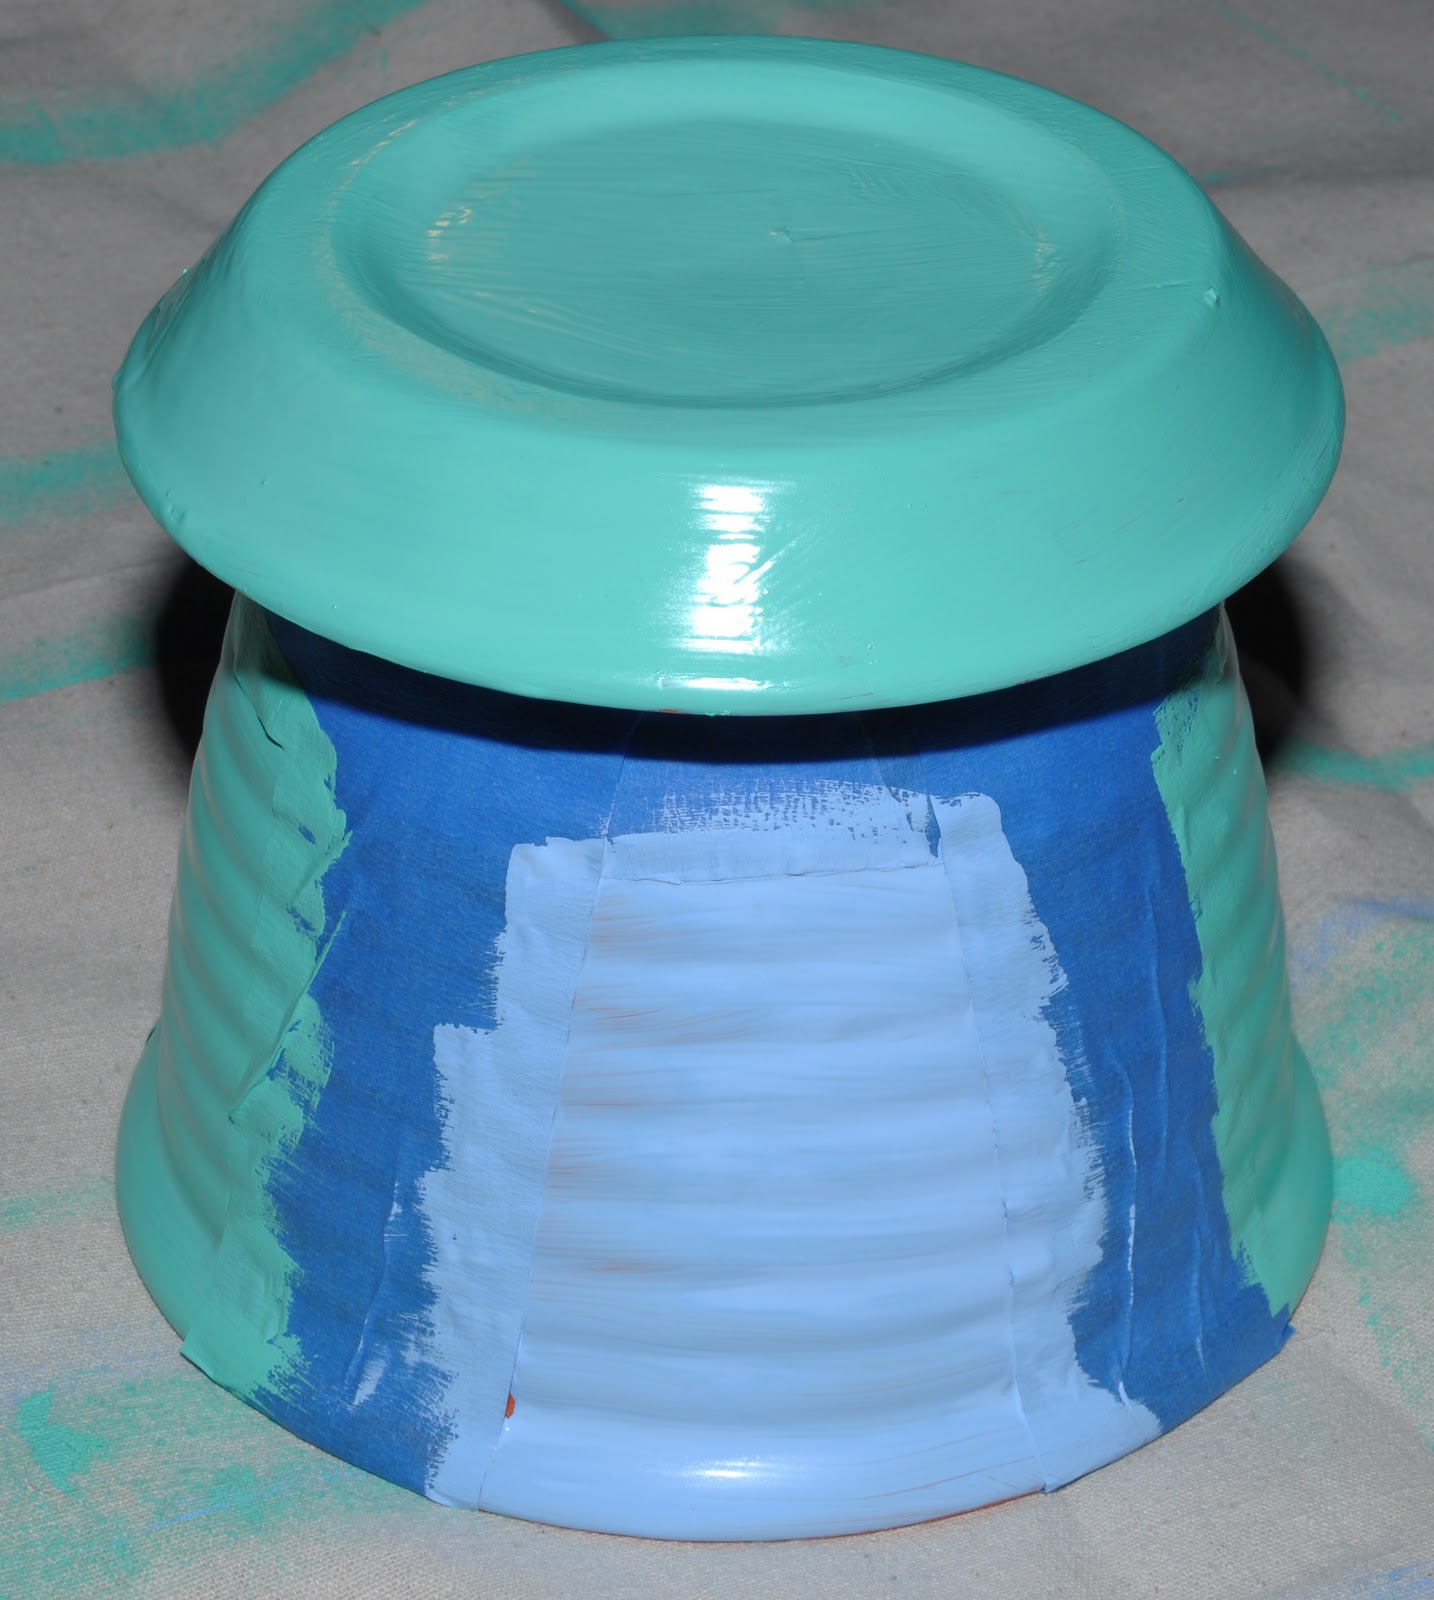
Day 2 of the painted planter! The first step is to remove all the tape. The planter I used was ceramic coated in a thick smooth glaze, so the latex paint didn't really bind with the surface of the pot. In order to avoid all the paint peeling up with the tape, I first ran a razor over the edge, and I peeled the tape off slowly watching for any hang-ups. Once the tape was pulled up I smoothed the edges with my fingers. Then I painted over all the patches of paint with clear varnish, this will help keep the paint from peeling off in the future. If you are using a clay pot you shouldn't have to do this.

Now on to the fun stuff! Since it's cold outside, and there aren't very many hours of sunlight I used a large plastic tote to do this project indoors. In the tote place a pot filled with plenty of fresh soil, the newly updated planter, and the plant you're transferring (my plant is a gerbera).

Add about an inch or so of soil to the bottom of your planter, depending on the difference of size of the two planters. Next, squeeze the bottom of your planter all around, you may need to go 'round multiply times. This will loosen up the plant, so that you will be able to turn it upside down, and the plant should slide right out (even if it is absolutely root bound, like my plant).

I would definitely suggest you transfer your plants before they become this root bound though. I've had this plant since I got married on 4/16/2011. We used gerberas as part of our centerpieces for our larger tables. I honestly didn't think this plant would survive this long, so I never bothered to replant it. It's a strong little sucker! Keeps popping up flowers and growing more leaves, I couldn't be more proud. :)

Now back to the task at hand! Place your plant in the center of your pot. Add soil around the edges, and don't compact the soil too densely. It's important for there to be some air in the soil, so that the roots have an easier time pushing their way through. You also want to be mindful not to fill the soil above the current or previous level.

Once you are done filling the planter with fresh soil be sure to clean off any excess soil, and then water your plant.

Look we even have a new flower starting!

Happy DIYing!