
I told ya'll I'd make a post about how to make the pinwheel cupcake toppers you could barely see in my update about wedding cupcake toppers. Well here it is!

Start with a bunch of double sided card stock. I bought these at Michael's, it's a Martha Stewart product. I cut them down with my paper cutter to just under three inches. You can play with how large or small you'd like them to be. I found this was a good size for cupcake toppers. You could even go down to 2.5 inches, but I find it gets harder any smaller than that.

Now, lightly draw a line in pencil from each corner making a cross. You will want to erase this line later, so don't press too hard.

Next, poke a hole in the center, and one corner on each triangle. Be consistent with where you place your holes. Either on every right corner on the triangles, or every left corner. After you've poked all your holes, cut on each line you drew. Leave a quarter inch of paper uncut from the center on each line. Now carefully erase your lines, try not to rip your paper.

Turn a corner with a hole over, and stick a brad through the first triangle. I also bought the brads at Michael's. Then working clockwise slip the next corner with a hole on the brad. Keep going until you have all four corners on, then lower the brad through the center hole, and flatten the metal flaps across the back.

Now, you are ready to hot glue the pinwheel on the wooden stick. I used Woodsies, i think I bought these at Michael's too. Use a small dab, and carefully place it down. It wont be able to spin, but it's super cute, and extra easy to make this way.
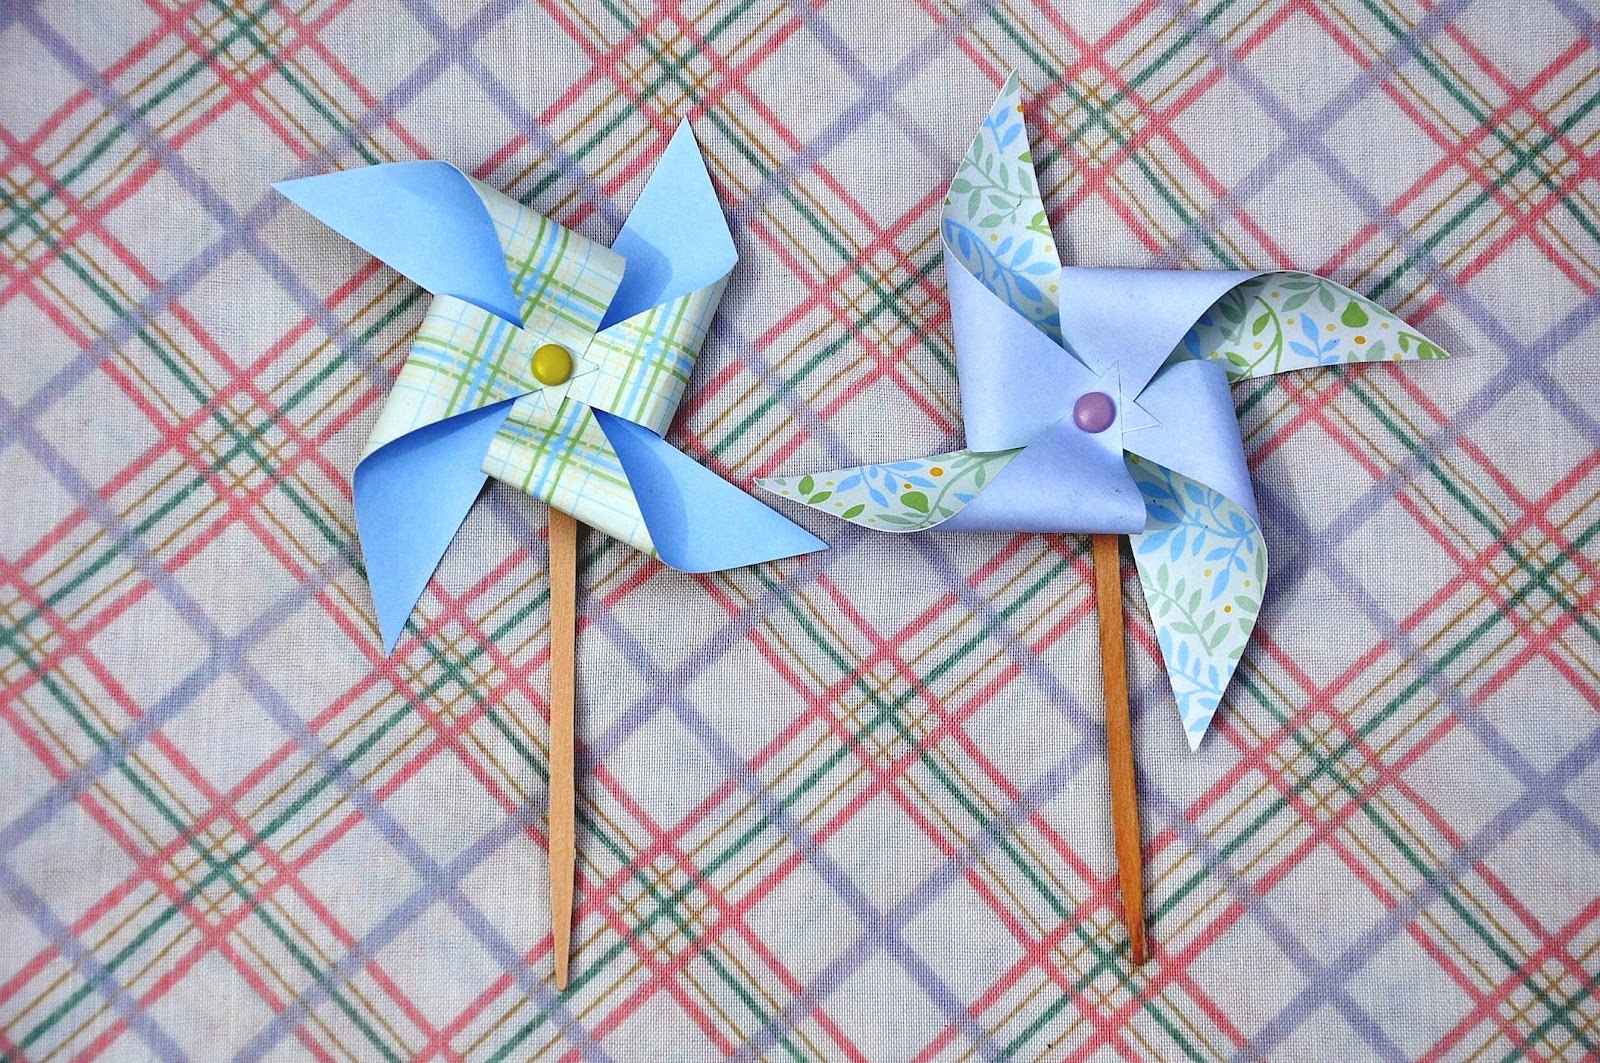
Once they are dry you can stick them in your plants or in cupcakes. I have one in my pen cup to add some whimsy to my boring office pens. Heck, you could skip hot gluing it to a stick, and glue it to a headband, or hair clip, and BAM! you'd have a cute hair accessory! I love DIYs that have many uses! Happy DIYing, chris.