Showing posts with label orange. Show all posts

Saturday, December 8, 2012

Christmas Tree Shopping


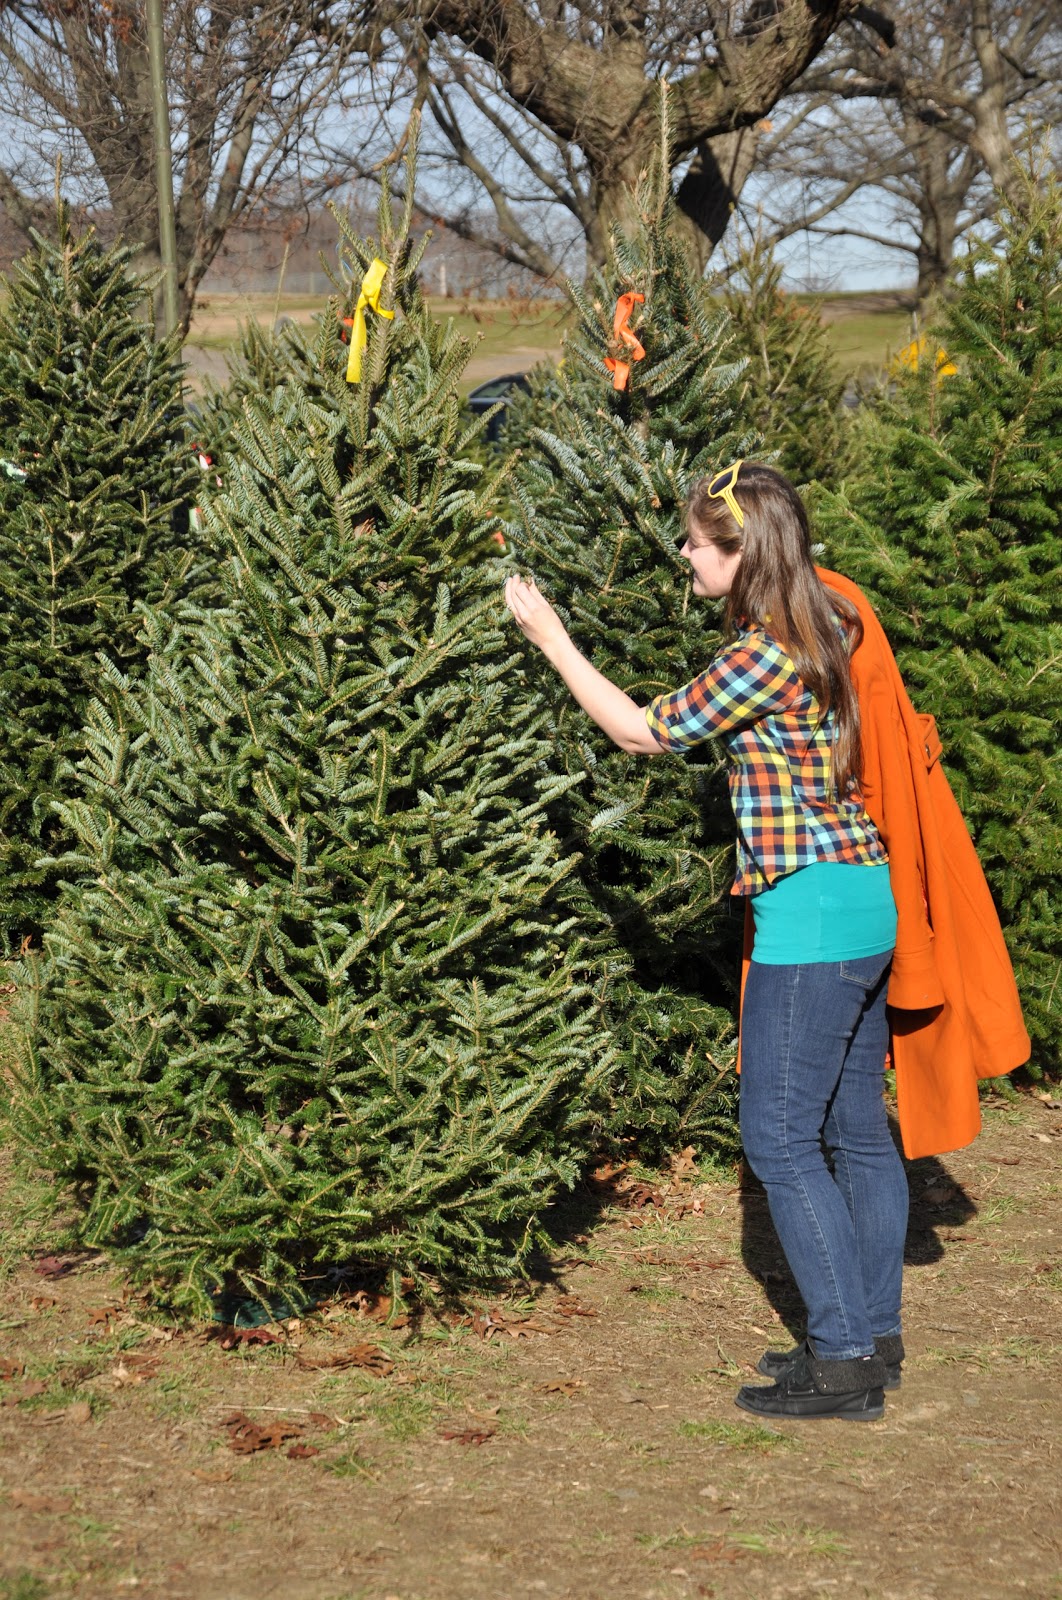
I had the day off on Thursday, so Aaron and I took that time to buy our Christmas Tree.  We thought it would be a good idea to do it during the week to beat the weekend crowds.  It was a great decision, there weren't too many people there, and we didn't waste any time waiting inline.  Which also meant there weren't tons of people everywhere, so it was easy to snap a few photos, and I only felt awkward about it once.  At one point we took a break from checking out the trees to photograph the experience (and my outfit), and then mid-photo this nice guy came over to check if we needed help, and that made me super uncomfortable.  I didn't want him to think we just came to take pictures, and not actually buy anything.  

This is where we got our Christmas tree from, Linvilla Orchards.  We could have cut our own, but we were feeling lazy, so we just picked from the precut trees.  Though, while we were checking out the cashier said the precut trees were a little better looking then the cut-your-own trees this year.  Which made me feel better about being a bit of a slacker.  I love their giant poinsettia made of red cloth and wire.  DIY inspiring!

I usually always make the hubby pose for a photo for me, before I hand the camera off to him.  I don't always show the pictures, but he's got such a cute smile, I had to share.  

The jacket is Aaron's early Christmas present to me.  I absolutely love it.  When I tried it on I knew I would be going home with it.  It fits so well, like it was tailored just for me.  The rest of the outfit is my go to look for this season.  A plaid flannel, and jeans just scream fall/early winter.  I have a rather long torso so I always pair my tops with a long tank top, and I enjoy playing with the combo of colors together.  I love a good pair of jeans, and this is the pair I measure all other jeans against.  I bought them from the Levi's store in Manhattan on our honeymoon.  They are from their Bold Curves line, which is so perfect for my body shape.  I usually have a problem with jeans having too much material in the waist, and then the back always gaps open, but that is not a problem with this pair.  

Jacket--  Land's End from Sears
Flannel Top--  Delia's
Tank Top--  Target
Jeans--  Levi's
Shoes--  DSW
Belt--  Target
Sunglasses--  Flea Market in Los Angeles


Hope ya'll are having a great weekend.  I spent today getting the rest of our Christmas decorations up, including dressing our freshly bought Christmas tree.  I plan on sharing photos of all the fun festivities tomorrow.  Happy DIYing, chris!

Wednesday, November 7, 2012

Paper Chains


Today I used those paper strips I made yesterday to make a few paper chains.  This is hard work.  I know what I'll be doing with all my spare time from now until I use them on Saturday!  I hope I'm able to get them all done in time!  

I think I'll just use white on the tops so hopefully I wont have to buy more orange or pink paper.  I'm so excited to see how this turns out, and to photograph my adorable niece!  

Happy DIYing, chris!  

Wednesday, August 15, 2012

Tri-colored Braided T-shirt Bracelet


Another DIY I left until the end of the day, but I'm really happy with the results of this crafty project I threw together.  I made a tri-color braided bracelet.  

I used three different t-shirts in yellow, orange, and blue.  I love these colors together, they complement each other so well, and they're unisex!  I used scissors to cut three strips of each color.  The strips each measured a half inch wide, and eight to ten inches long.  I used the needle and thread to sew the strips together at the beginning and end.  

I also sewed all three colors together, and then I braided them together.  At the end I sewed the two ends together.  I left the different length ends, because they add a fun flare.  Like a mini pom-pom.  When sewing the ends make sure to go through all the strips of fabric, that way it's nice and secure and wont come unraveled.  

A simple craft, with great results.  Anyone could do this with some extra fabric, and twenty minutes to spare.  I'm fairly certain of seen similar bracelets at Forever21 sold for around five bucks.  This only cost me time. 

I'm thinking up an outfit to wear this with, and when I'll have my next chance to show off my latest creation!  I wear my DIYs proudly, and it makes my day when someone complements them.  I work with children, and it's the highest complement when one of them tells me my bracelet is cool.  

What's your latest creation?  Do you love to show it off?  Have a lovely day, and happy DIYing, chris!  

Wednesday, June 20, 2012

Wide Macramé Bracelet Part 2


Oh man, hello Summer!  The high today for my area is 101ºF!!! Whew-wee, it's hot out there.  I didn't let the heat hold me back, I didn't delay!  I got the macramé bracelet I started yesterday finished.  To see the first half of this tutorial, check out yesterday's post.  Now on with how you'll finish off this bracelet.  


I periodically tested the bracelet around my wrist, and once I reached my desired length I began tying the last row onto the jump links.  The last row has to be a row that includes the first string in the first knot.  Other wise you'll have a lose end.  

I have twelve strands, so I tied four on each of my three jump rings.  

When I was done tying on all the embroidery threads I tested the bracelet out, and made sure I could easily attach the hook.  The first time I had to remove the jump rings, and add a couple rows.  I tested it again, and it was perfect, that's when I trimmed the long tails off.  My guess for 56 inches of thread to begin with was a bit off, at  least it didn't mess up the project.  I just need to figure out what to do with all these thread scraps.  :)  

I like the way this bracelet sits on my wrist, and the clasp is lovely.  

Of course I love the colors too.  :)

 I'm totally enjoying this technique.  I want to make a ton of these.  I'd like to try better thread, and find a bead that would work, and play with different clasps.  I guess there are only so many of these I need though, I wonder if my female family members would want one?  I wonder if strangers would be interested in buying them ...  I'd totally enjoy making a ton of these.  I love playing with all the colors, and there are so many different materials I could try out.  

Well I'm off to make up some more fun things.  Hope you're having a lovely day, and don't let the sun burn you out!  Happy DIYing, chris.  

Saturday, April 21, 2012

Wedding Anniversary Present


This is the outfit I got as a present for our one year wedding anniversary.  I wore it on Tuesday, it was super hot here in Delaware.  For this Saturday Blogger Love I wanted to try out Diversions' technique with cloning myself in an outfit pic.  I couldn't be more thrilled with the results.  It was way easy to do too!  I took my outfit pics with a tripod and self-timer as usual.  This time I tried to move around the frame and pose myself differently in each photo I planned on layering together.  In GIMP I layered all the photos together.  Erased the parts of the top layers that covered me up in the lower layers, and then there were four of me!  This photo definitely reflects my current mood.  I've been feeling cut adrift.  Caught in this strange dream space.  I want to do this cloning thing again!  Thanks Diversions!  

I bought this dress at a cute little local store at the Rehoboth Beach, called Super Kind. Which is where Aaron and I went for our anniversary.  I'll share some photos from our little beach adventure tomorrow. I love the colors and the pattern on the dress.  There is a silk slip attached as the bottom layer, and it makes me feel so girlie and pretty.   You can also see our two raised 4x4 garden beds.  The bed closest to the camera has four tomato plants, a Pink Ponderosa, Anise Noire, Cherokee Purple, and Riesentraube.   The back bed has a couple varieties of lettuce, some spinach, some chard, a Red Rock Mammoth Cabbage, and a broccoli plant.  

I love all the pretty flowers that are blooming right now.  It smells so good walking and driving around.  I love the smell of gardenias, and I can't wait until the honeysuckle starts!  

Love these colors together.  They matched perfectly with my dress, and I didn't even plan it!  

I usually hate photos of feet.  I'm not a foot person, but I had to show off how I painted my toe nails the color of the dots on my finger nails.  I love the feeling of grass or moss under my feet.  

One last photo of my nails, don't mind how awkwardly posed my hand is.  You can see my completed friendship bracelet in this photo.  I braided the end, and added some beads to finish it off.  Totally love it!  Hope ya'll are having a great weekend!  Happy DIYing, chris! 

Wednesday, January 18, 2012

Painted Planter - Day 2

Day 2 of the painted planter!  The first step is to remove all the tape.  The planter I used was ceramic coated in a thick smooth glaze, so the latex paint didn't really bind with the surface of the pot.  In order to avoid all the paint peeling up with the tape, I first ran a razor over the edge, and I peeled the tape off slowly watching for any hang-ups.  Once the tape was pulled up I smoothed the edges with my fingers.  Then I painted over all the patches of paint with clear varnish, this will help keep the paint from peeling off in the future.  If you are using a clay pot you shouldn't have to do this.

Now on to the fun stuff!  Since it's cold outside, and there aren't very many hours of sunlight I used a large plastic tote to do this project indoors.  In the tote place a pot filled with plenty of fresh soil, the newly updated planter, and the plant you're transferring (my plant is a gerbera).  

Add about an inch or so of soil to the bottom of your planter, depending on the difference of size of the two planters.  Next, squeeze the bottom of your planter all around, you may need to go 'round multiply times.  This will loosen up the plant, so that you will be able to turn it upside down, and the plant should slide right out (even if it is absolutely root bound, like my plant).  

I would definitely suggest you transfer your plants before they become this root bound though.  I've had this plant since I got married on 4/16/2011.  We used gerberas as part of our centerpieces for our larger tables.  I honestly didn't think this plant would survive this long, so I never bothered to replant it.  It's a strong little sucker!  Keeps popping up flowers and growing more leaves, I couldn't be more proud. :)  

Now back to the task at hand!  Place your plant in the center of your pot.  Add soil around the edges, and don't compact the soil too densely.  It's important for there to be some air in the soil, so that the roots have an easier time pushing their way through.  You also want to be mindful not to fill the soil above the current or previous level.  

Once you are done filling the planter with fresh soil be sure to clean off any excess soil, and then water your plant.  

Look we even have a new flower starting!  

Happy DIYing!

Tuesday, January 17, 2012

Day 1 - Updating A Planter

Updating an old plant pot is today's Do It Yourself.   I have an orange planter that's been around for ages, and my gerbera is long overdue for a replanting.  However,  the flowers on the gerbera are orange, and though orange is one of my favorite colors I wanted to update the planter first.  

WHAT YOU'LL NEED:
- empty planter
- painter's tape (2 inch)
- two types of house paint
- straight razor

Directions:
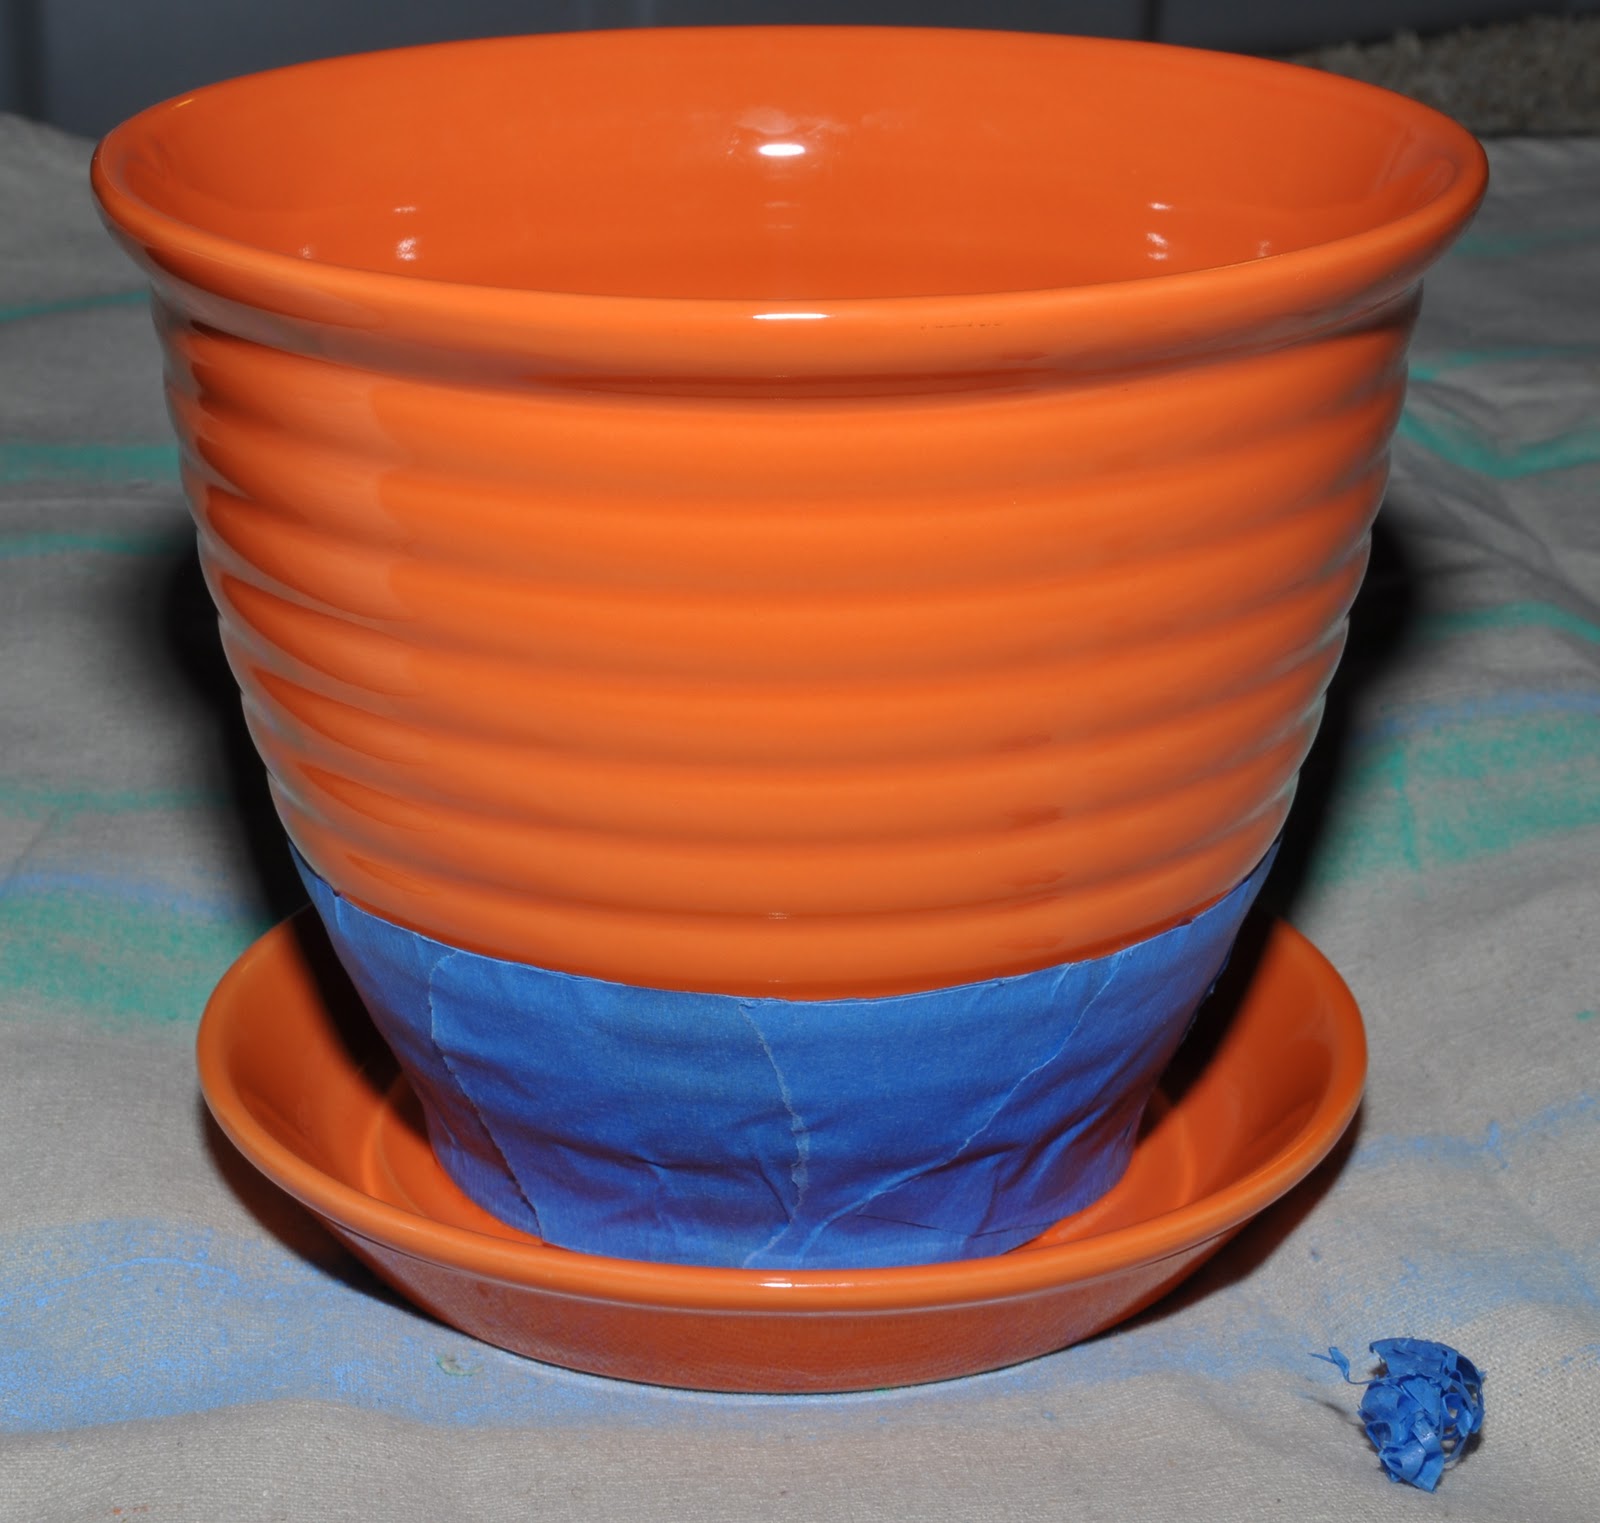
I started off by taping off the bottom part of the pot.  I butted the tape up to the bottom edge of the planter.  I used small pieces all around the edge, because the curve of the planter didn't allow me to just wrap a single piece around the bottom.  Once I was done taping off the bottom, I had to use a straight razor, and make the top edge even all the way around.  

Then, I took four strips of tape, and placed them vertically, and evenly spaced around the pot.  Making sure to go over the edges of the tape; to ensure no paint will seep under them.

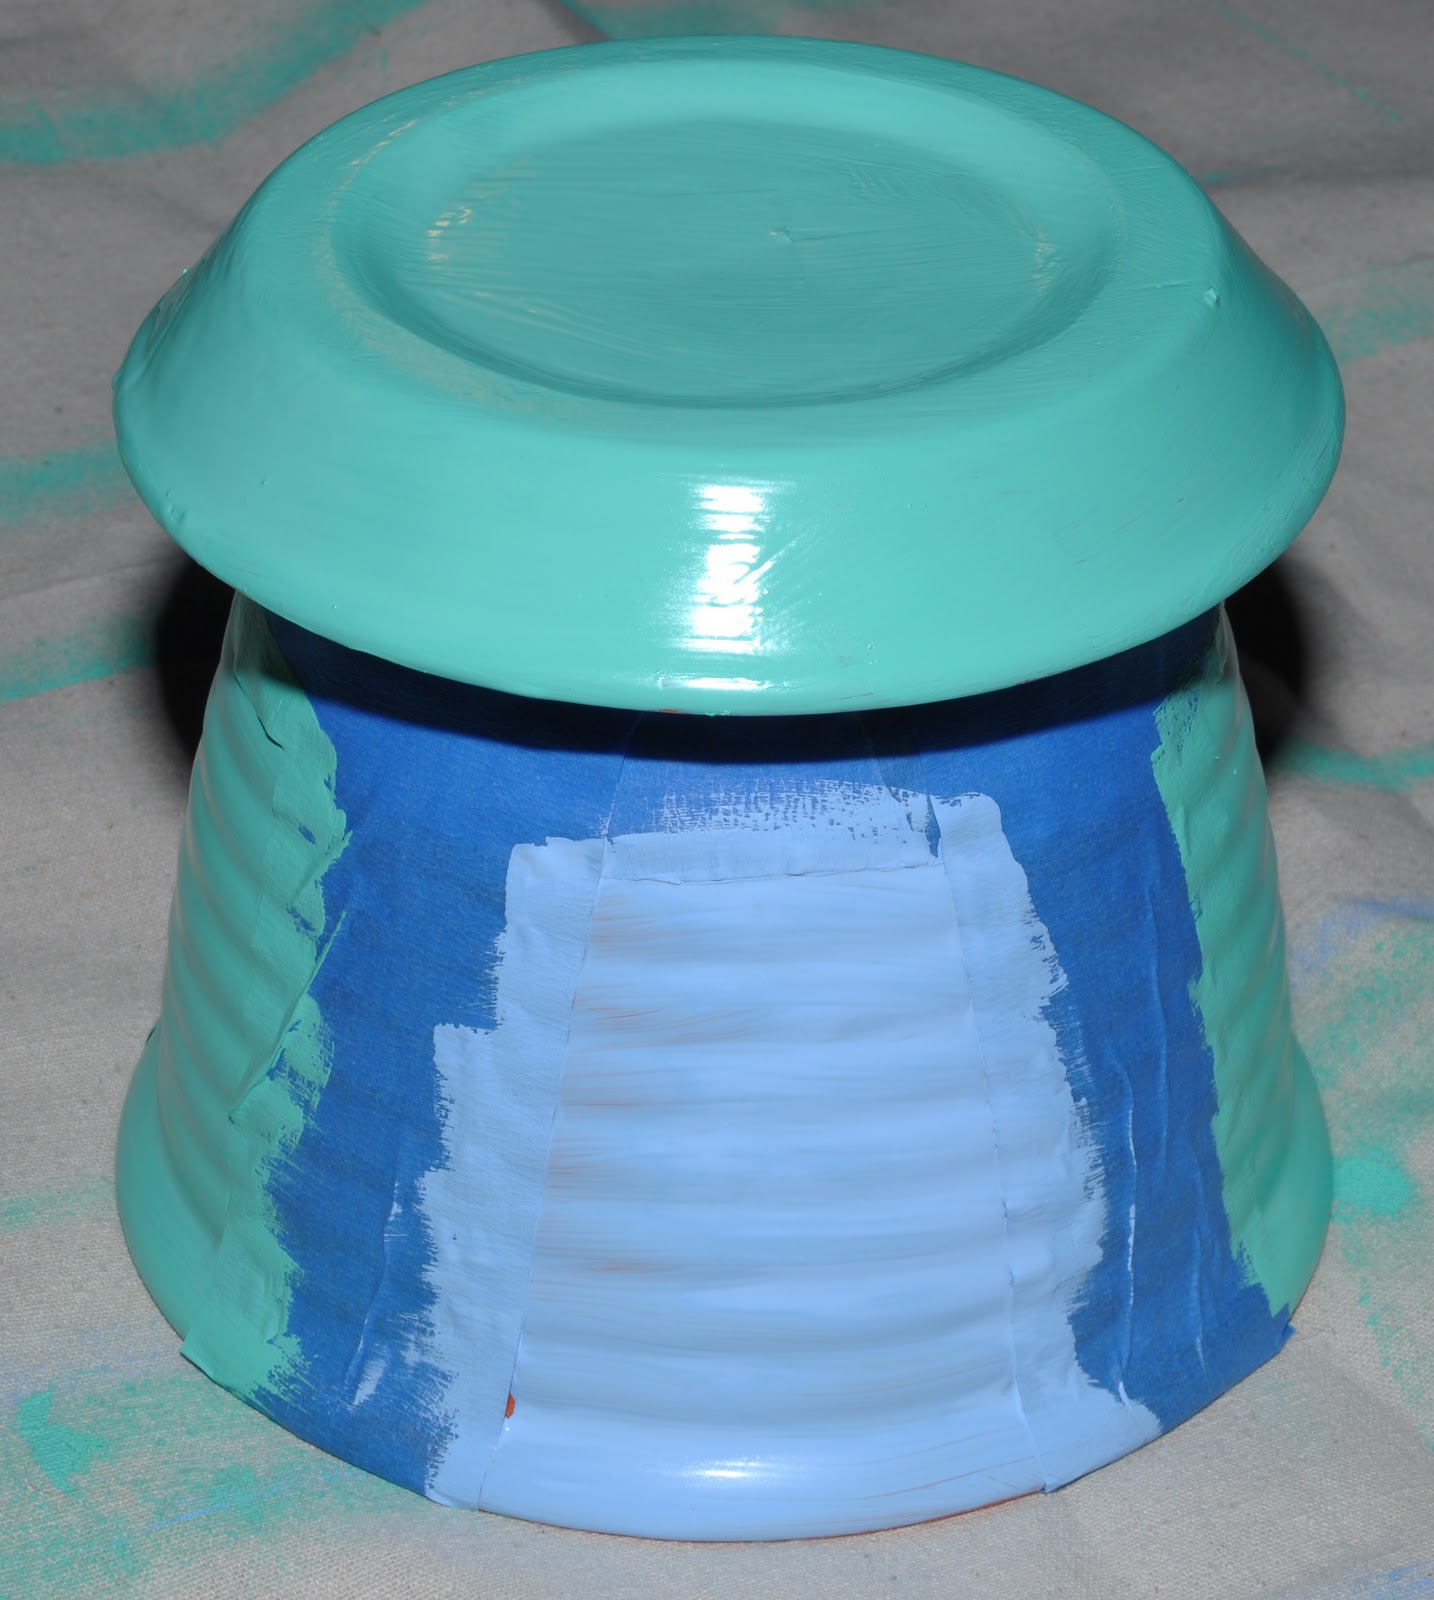
Now paint two sections one color, and then paint the other two sections and the bottom the other color.  Be careful to make smooth even strokes with your brush, so you don't have any streaks.  Since the tape is so wide you can hold the planter on the tape, and maneuver it around to paint every exposed spot.  I'm keeping the inside orange, so when painting the top edge make sure you paint doesn't drip down the inside.  

You may need to let it sit, and paint on a second coat.  Afterward, let the planter sit overnight before peeling the tape off.  


We will finish this project tomorrow!  Until then, happy DIYing!